
2 Day Laundry Room Renovation
We’ve been putting off this project ever since we moved into our home almost 7 years ago, and now we’re wondering why we waited so long! This 2 day laundry room renovation was a long time coming, and it feels so good to be done. Looking back, I think I was (sadly and embarrassingly) too worried about what others would think of our laundry room renovation (would it be too this or too that, etc), and it got in my head a bit. Social media can be such a great tool, but it can also really mess with us if we aren’t careful. Anyway, once we finally decided to just do what WE wanted and thought would work for our home and lifestyle and design vibe, it turned into a really fun project! Here’s how it went down plus a cost breakdown at the end…
THE BEFORE:
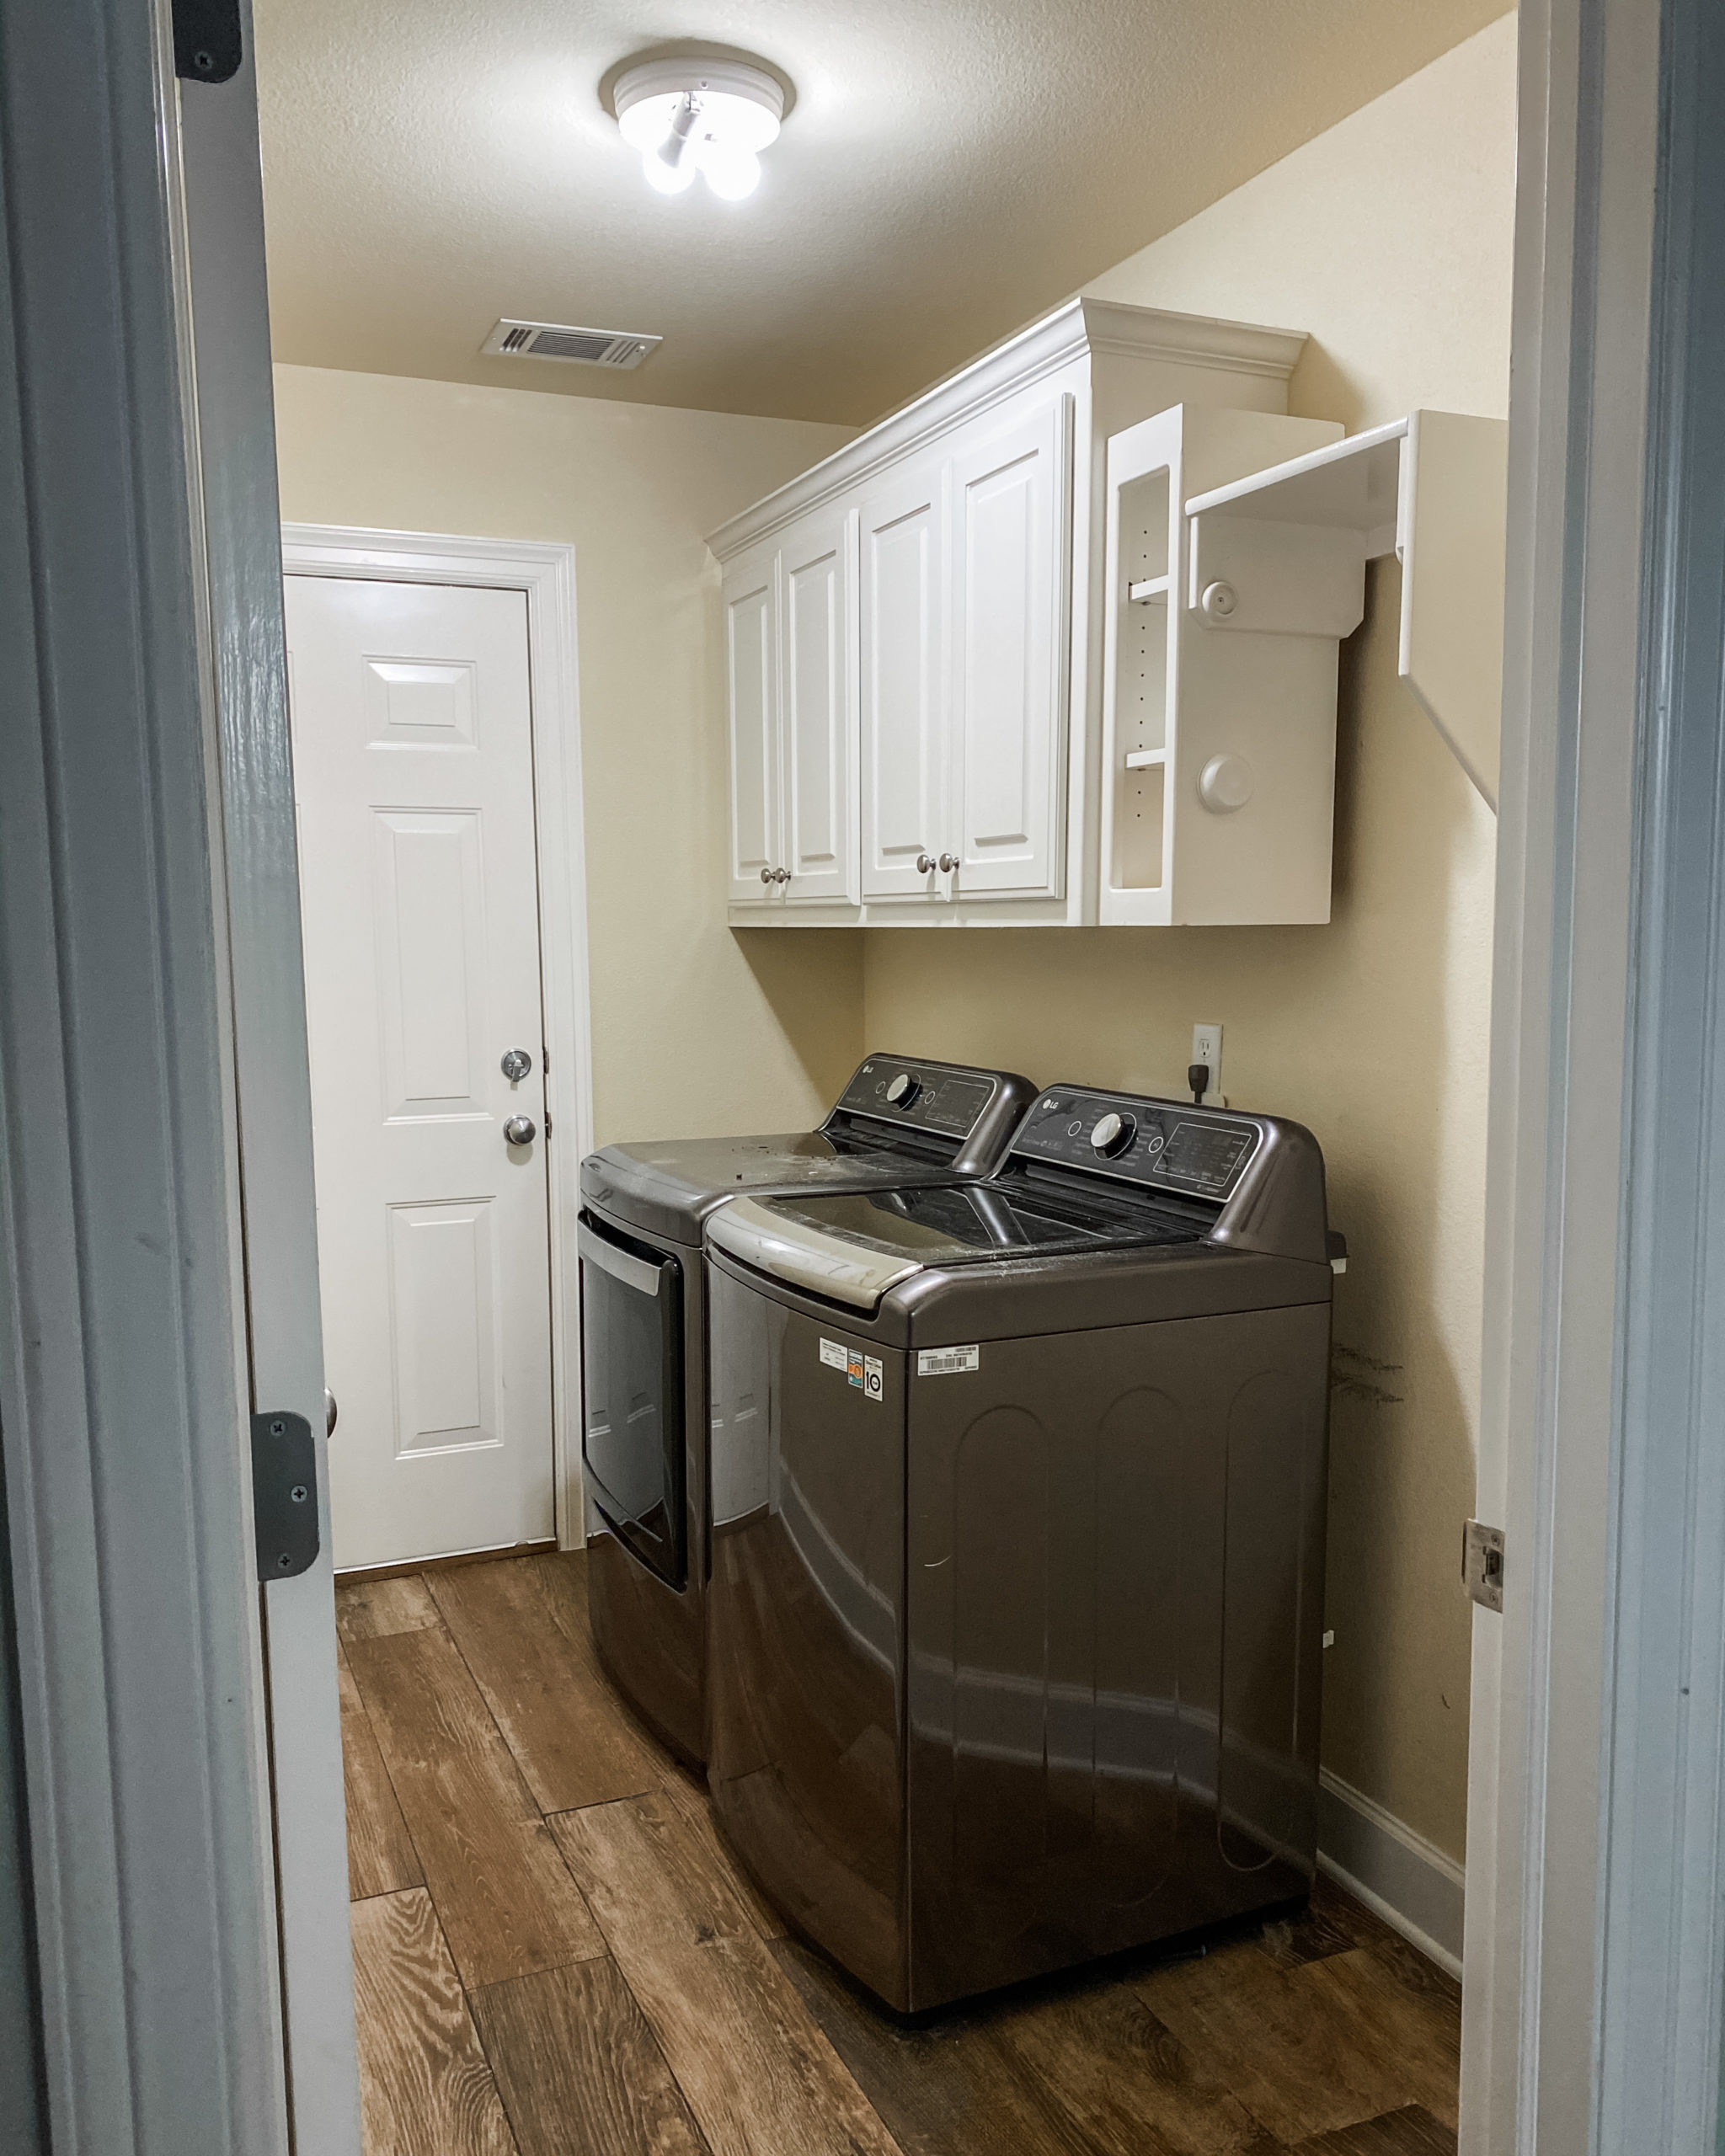
Our laundry room is not a large space, and it’s only as wide as the garage door you can see at the back of the picture. This space also serves as a daily pass through into the garage, and the three kitties sleep in here and pass through the wall beside the dryer out into their caged litter box area in the garage. Phew! It’s a tiny room but it serves a lot of functions, and I wanted to make it feel a little less tight without actually changing the footprint of the room.
PAINT:
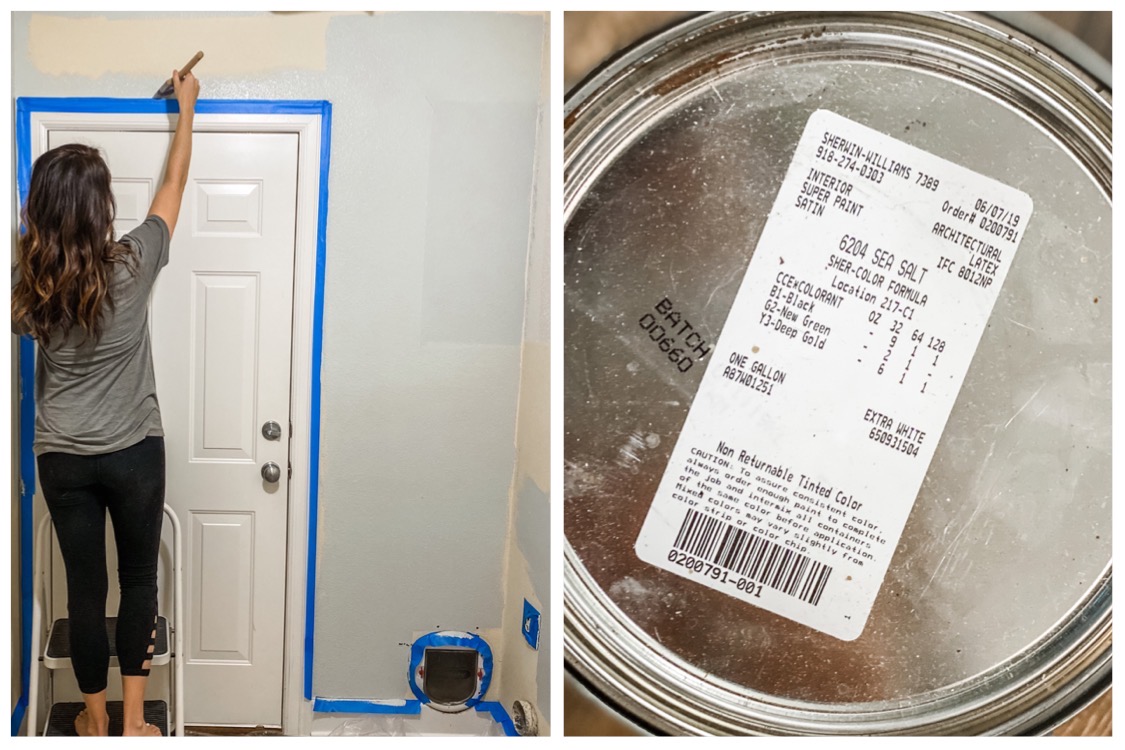
Crazy how much difference a simple coat or two of paint can make!! To carry the vibe of the rest of the home into this space, I went with one of my all time favorite paint colors, Sea Salt by Sherwin Williams. [Wanna see my favorite white paint colors after lots and lots of testing…? Click HERE to see!]. We already had a can of paint sitting in the garage, so I got to work! The change from funky yellow to soothing blue/grey was such a big vibe transformation in and of itself! Paint is magical.
FEATURE WALL:
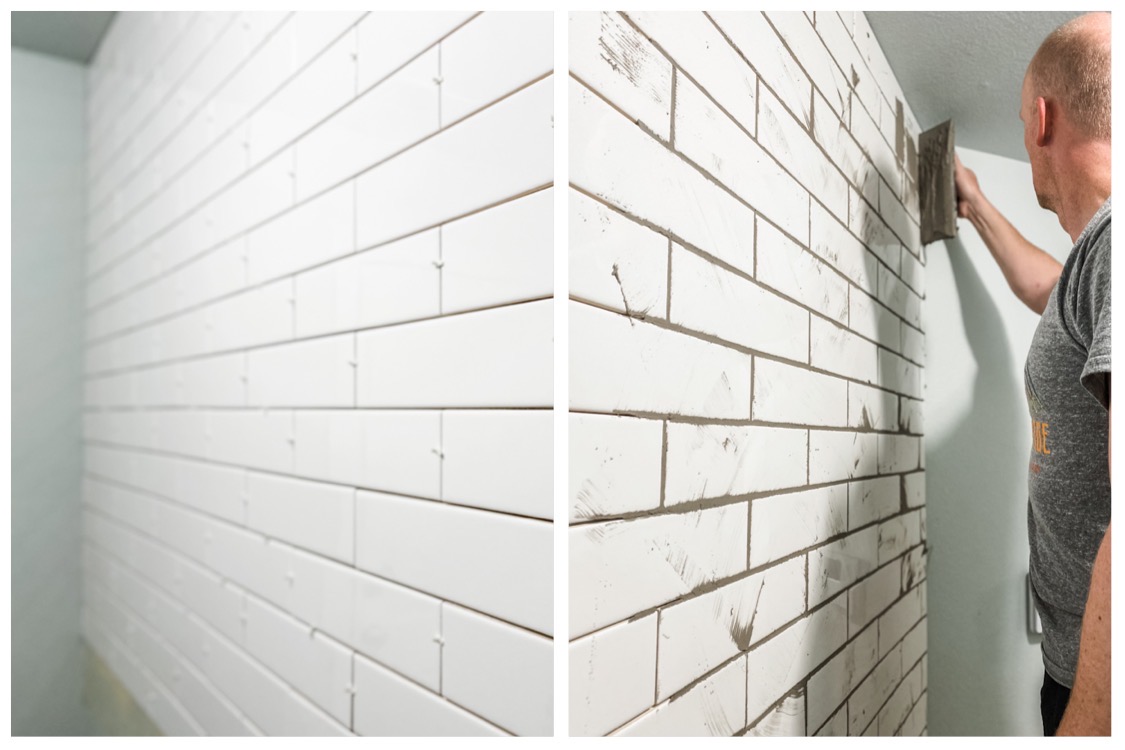
The biggest change we made was to bust out the bulky cabinets in favor of a linear subway tile feature wall and open shelving! To install the tile, Russell used a COOL product called Simple Mat [HERE] that’s basically a giant roll of super duper heavy duty double sided tape. Instead of messy thin set, you simply peel off the backing and mount the sticky side to the wall. When you’re ready to place tiles, peel off the other side of backing which then exposes the second sticky side! We used 1/16 spacers to help keep an even line while placing tiles.
The pros of Simple Mat: no messy thin set and you can immediately grout the tile rather than waiting 24-48 hours. The cons of Simple Mat: you only get one shot at placing the tiles…no going back! We used this product to install our kitchen backsplash almost 5 years ago, and it has held up great. Highly recommend!
For the grout, we used Oyster Grey non-sanded grout from The Home Depot. It goes on much darker than the final result, which is a perfect medium warm grey tone. I wanted to tie in the grey washer and dryer somehow without actually using a bunch of grey to decorate with, and the thin lines of the Oyster Grey grout did the trick! Grouting tile is much easier than it might seem, athough it can be a bit messy.
A tip for non-contractors like us: don’t let a lack of pro tools hold you back from projects! We don’t invest in a lot of big scale tools, simply because we don’t do a ton of major DIY projects. Instead we rent them from places like Lowe’s or The Home Depot! We rented a tile wet saw for a few hours for this project and returned it after – easy peasy!
OPEN SHELVES + DIY BRACKETS:
For storage, we could NOT figure out what configuration we wanted for the open shelves. We knew we wanted one shelf above our washer and dryer, but it had to be a bit more shallow because the washer is top loading. I also wanted another deeper shelf running the length of the wall, but I couldn’t figure out how to make it all come together. This post from Shealin Ashley was super helpful and gave us the idea for the extra side shelves next to the washer and dryer! The perfect spot for a bit more storage, and we put the cat food and water bowls on the side closest to the garage door.
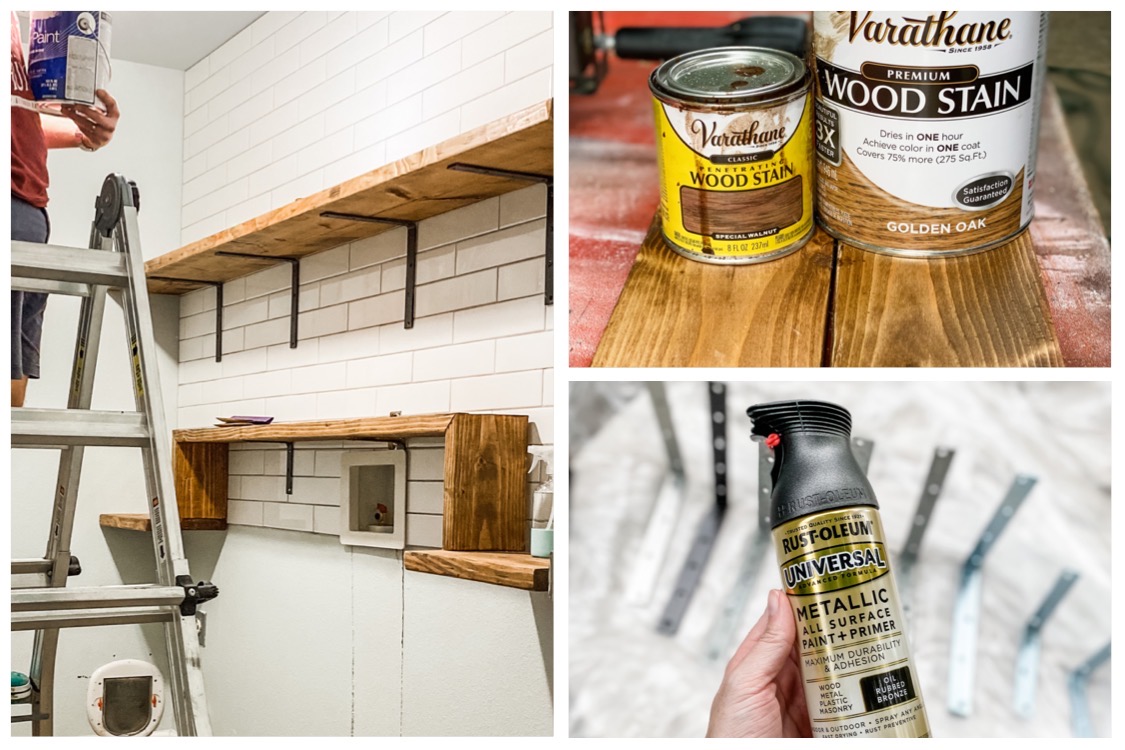
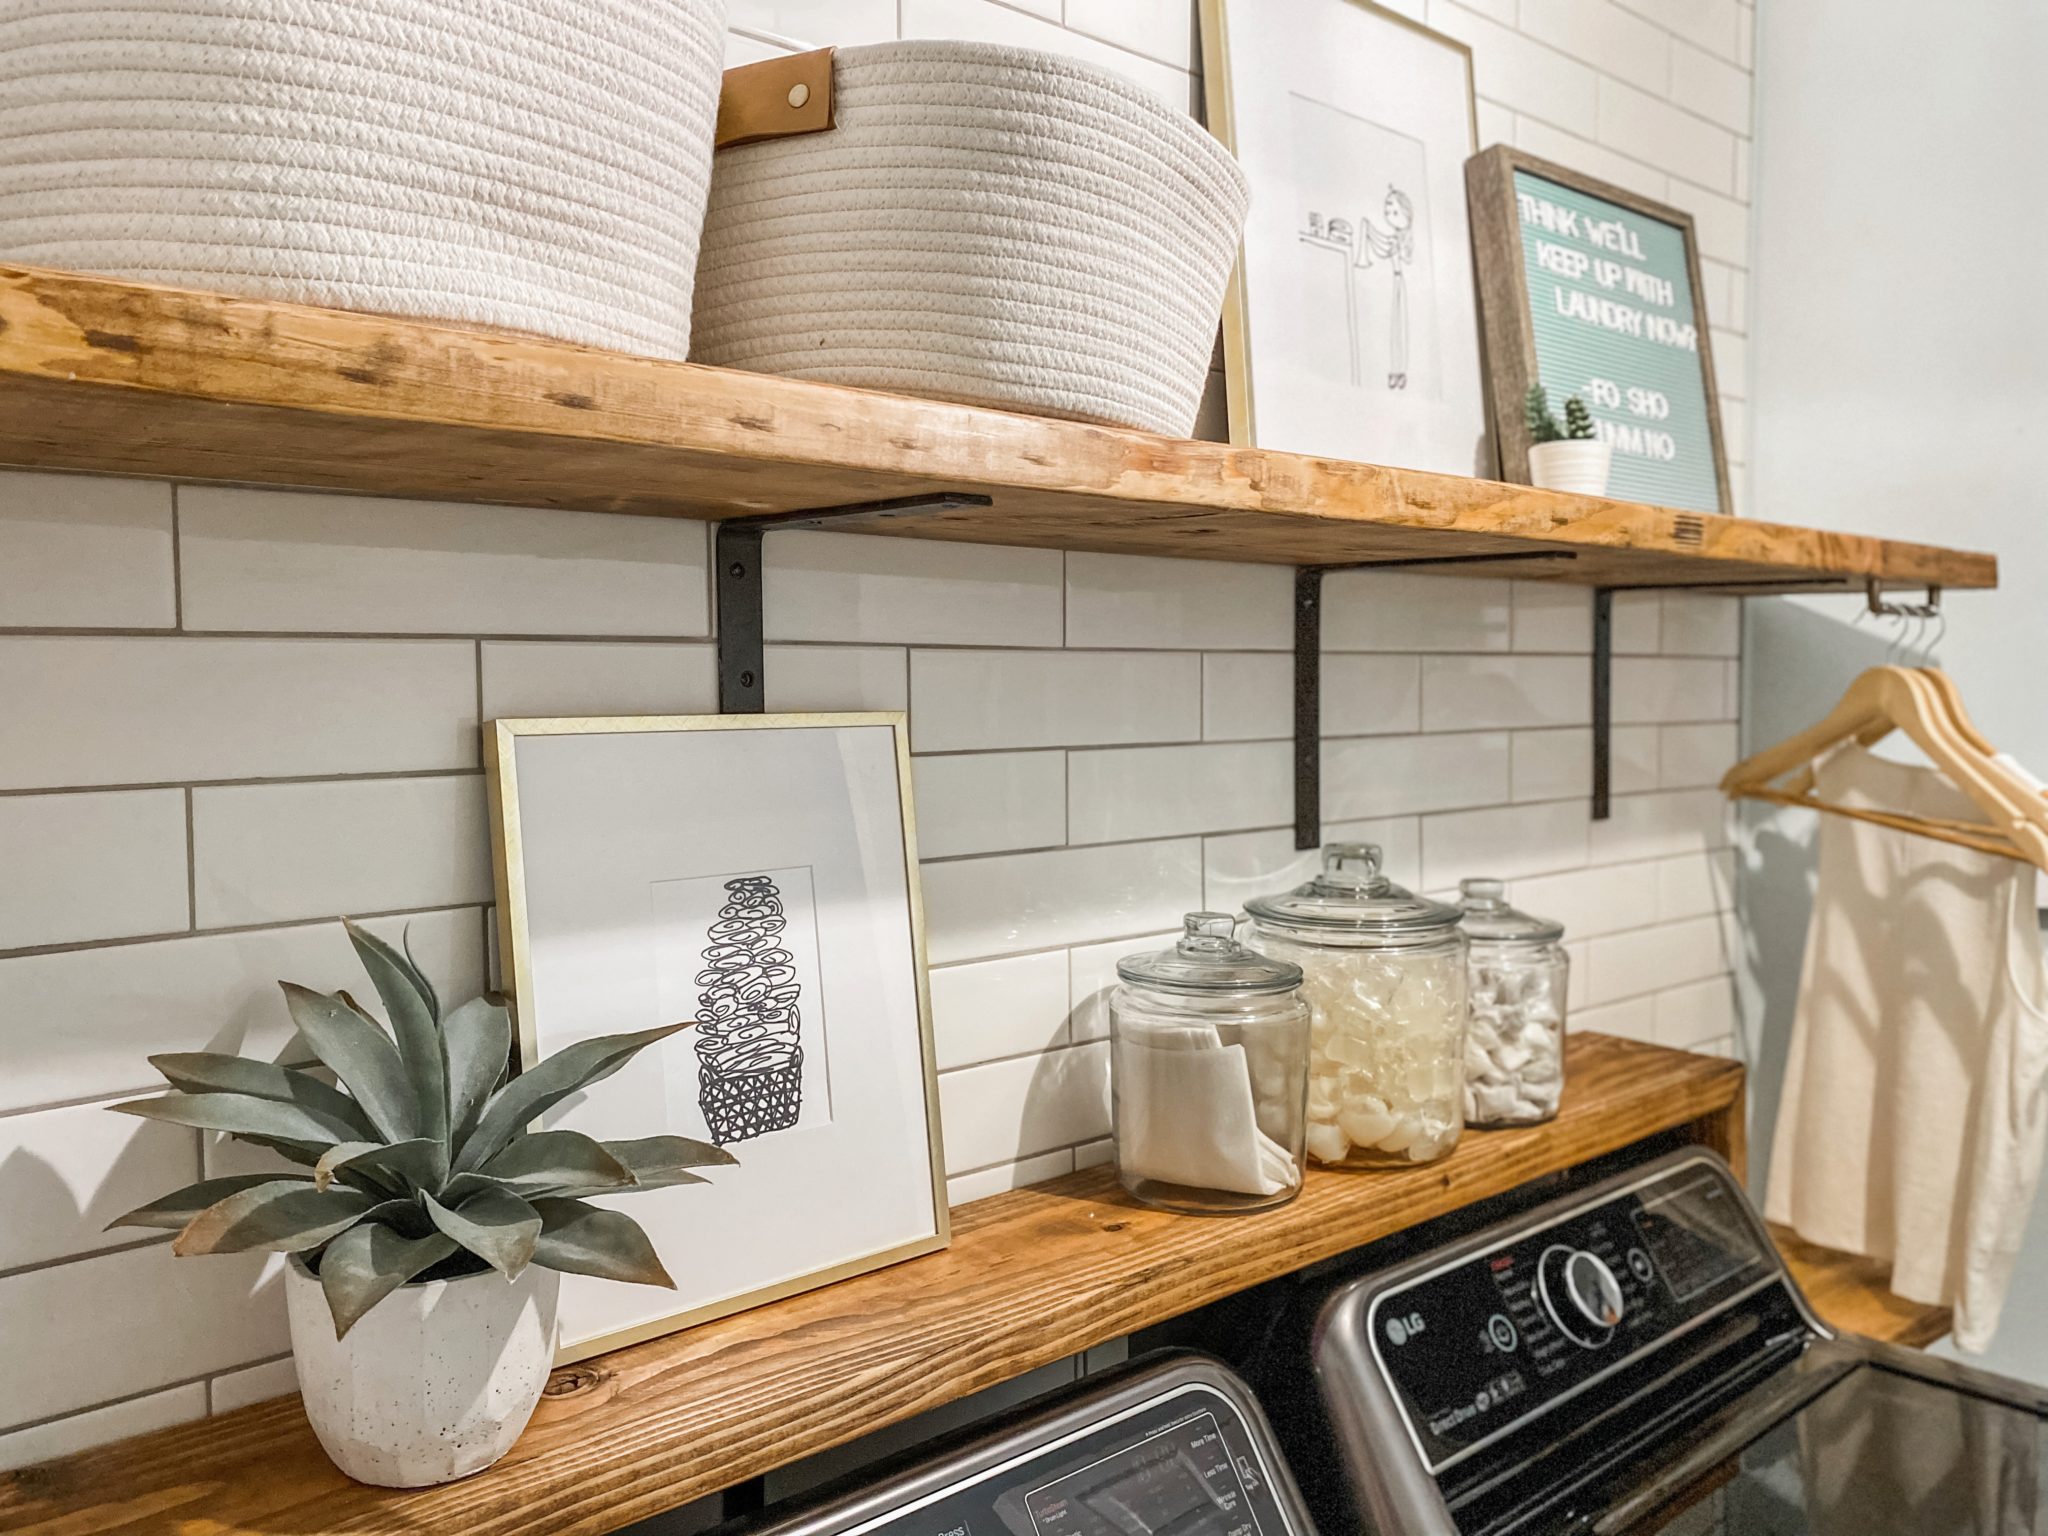
We went with one coat of Golden Oak wood stain for the pine shelves, and it turned out to be a nice medium tone that wasn’t too dark, too warm, too ashy…just right! The brackets are a simple DIY that we’ve done before in my she shed [HERE] and our bathroom. Instead of buying the super expensive fancy brackets, you just get some plain ol’ 10 inch galvanized corner braces [HERE] and spray them oil rubbed bronze. Be sure to research how to drill into tile beforehand! We used a combo of tape and a spray bottle filled with water, but I definitely would recommend watching an instructional video first. We are NOT professional contractors, ha!
(Also, we chose not to tile to the floor because we’ve had to have work done on the plumbing in here before. We didn’t want to have to bust through tiles in case that happened again, plus the lower portion of the wall won’t show in the end due to the washer, dryer, laundry basket and shelving!)
THE AFTER:
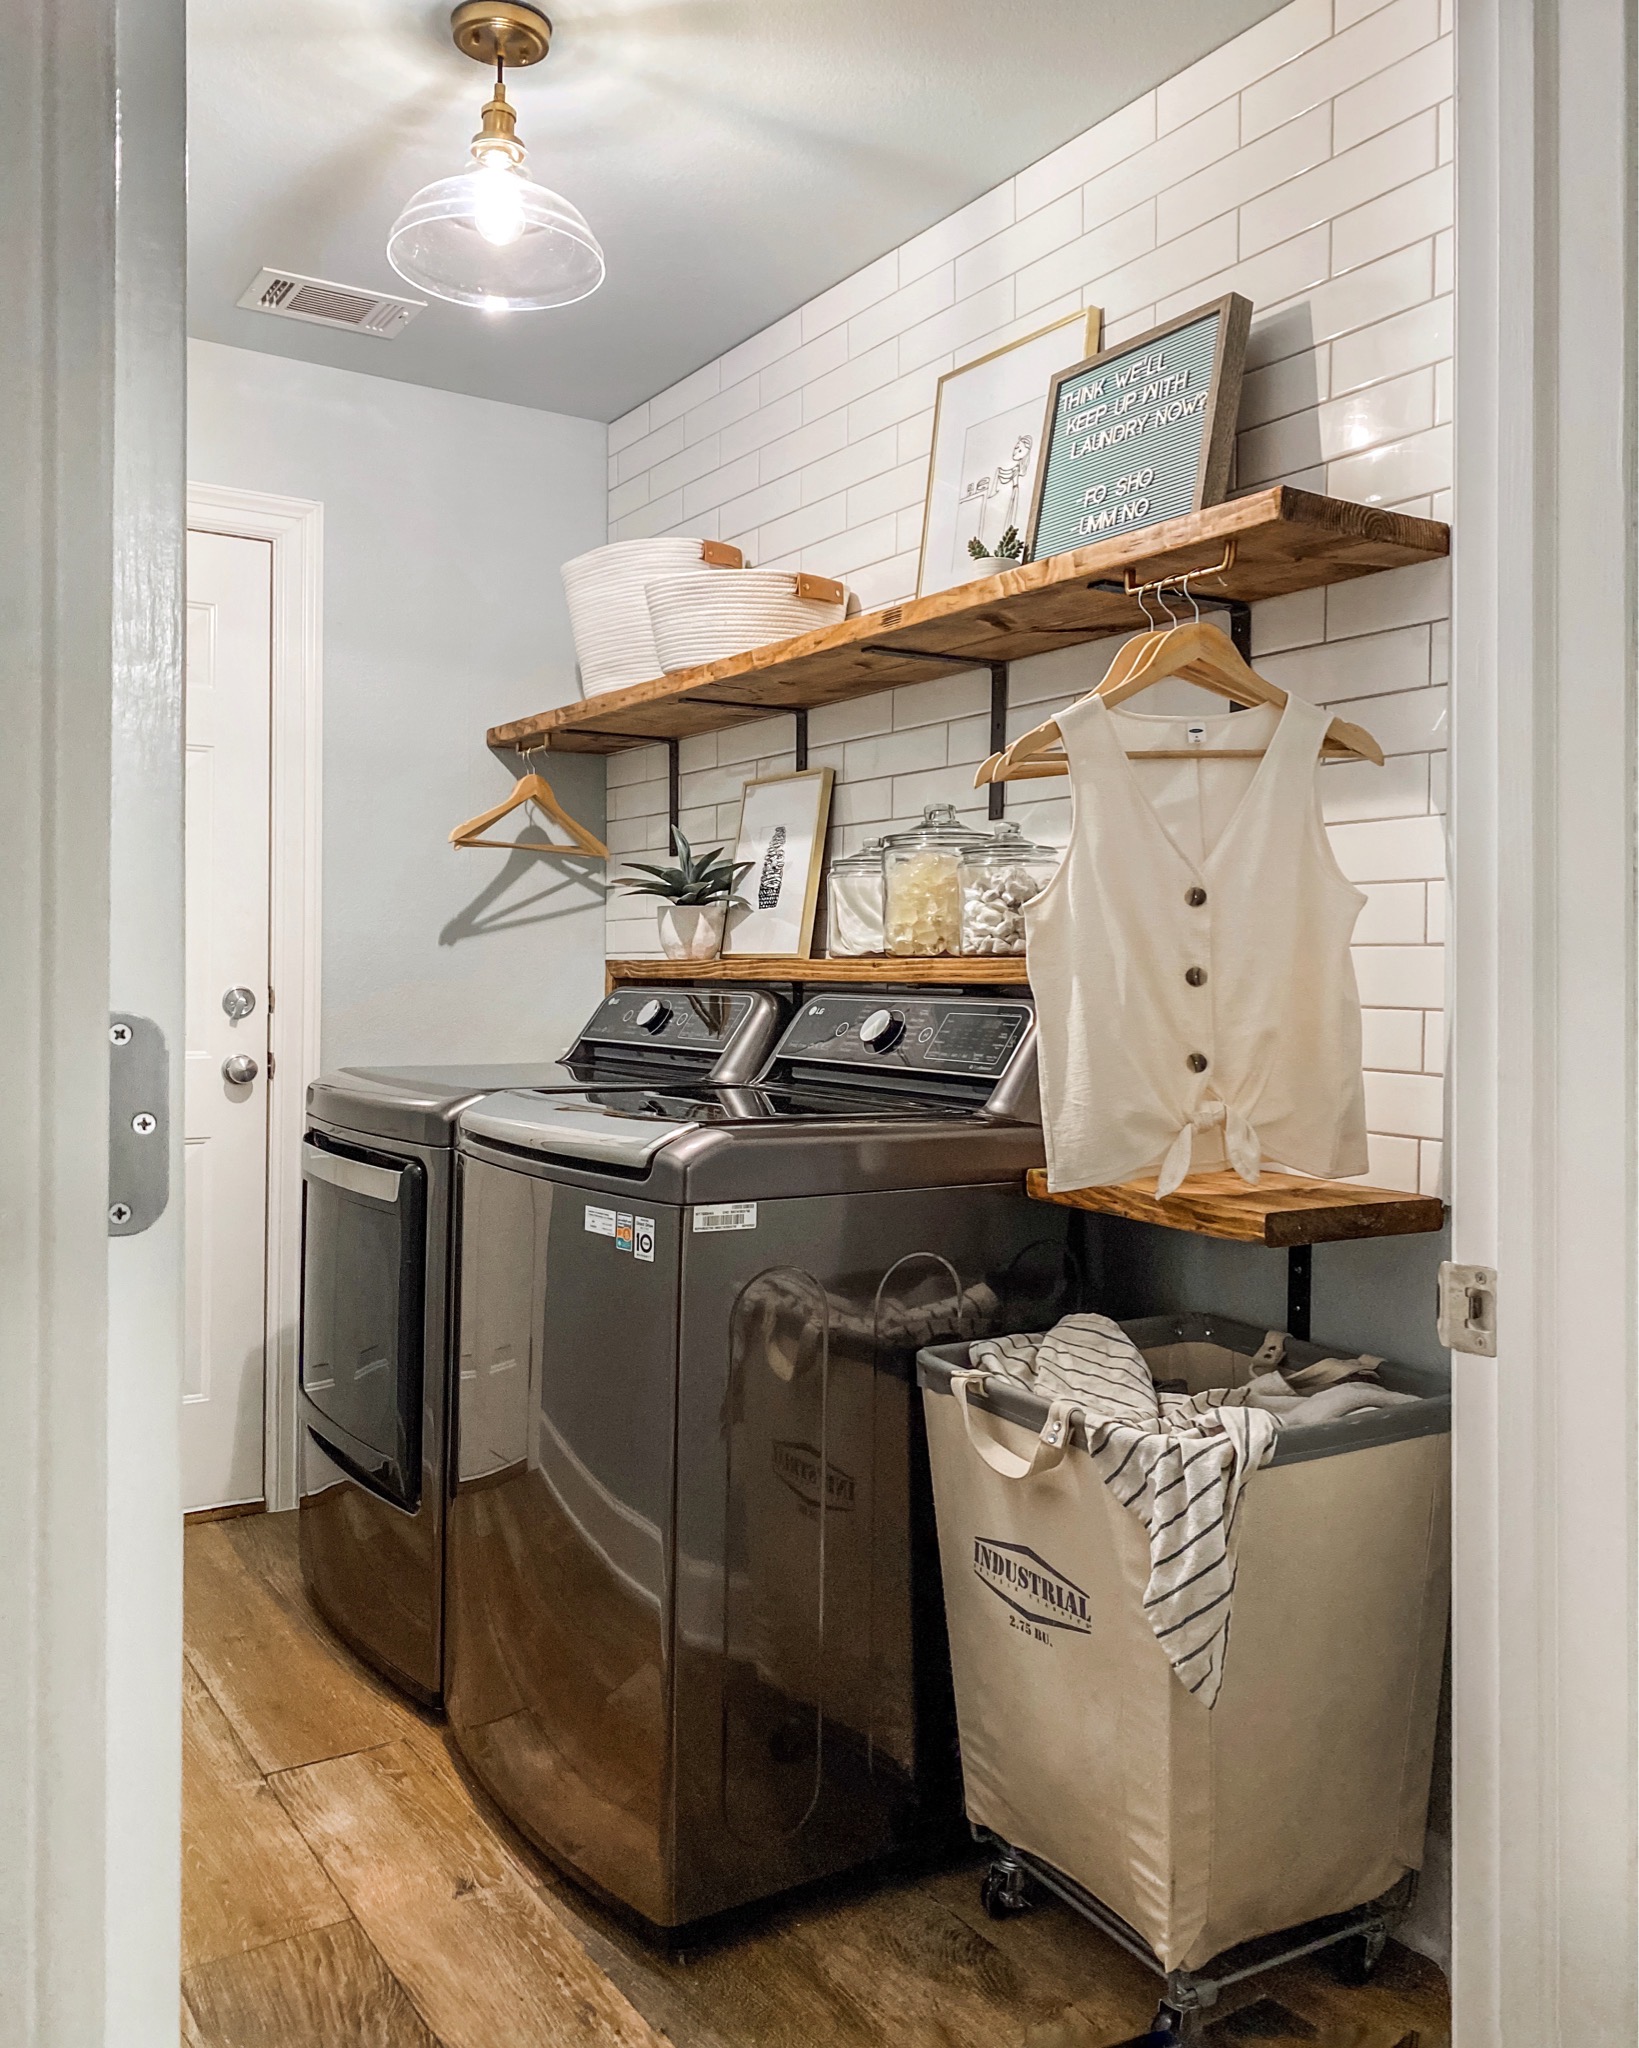
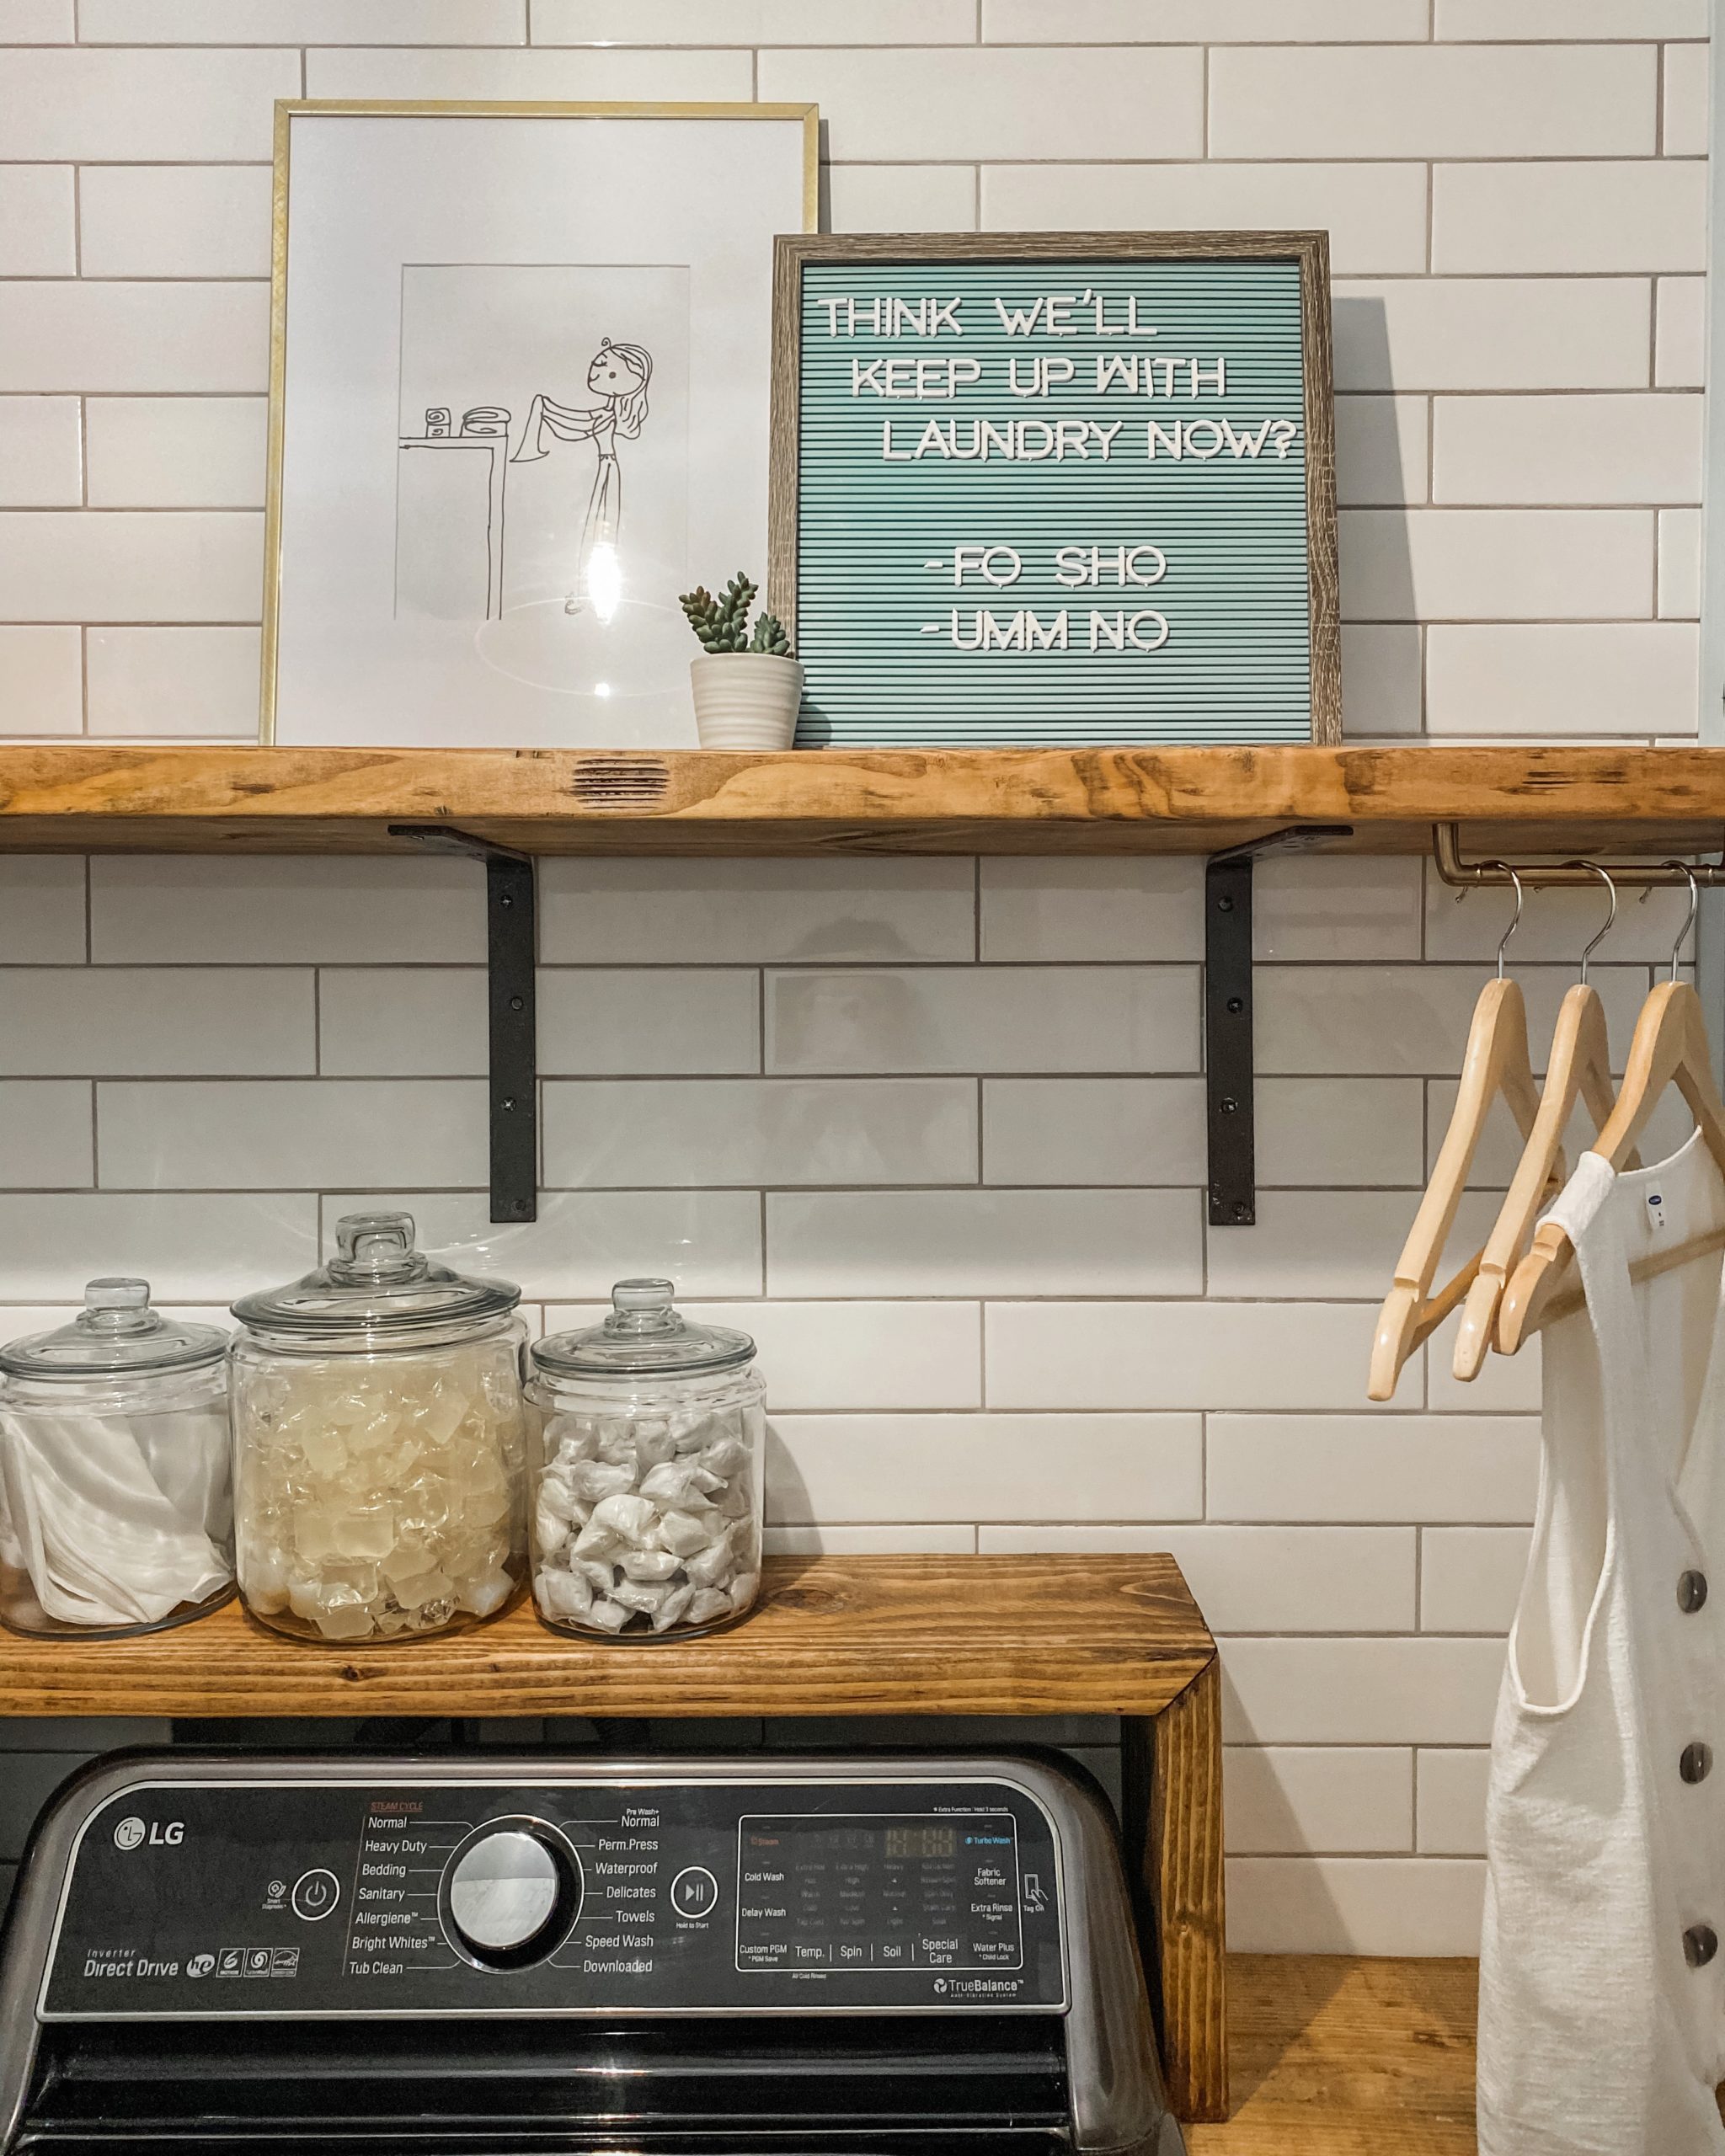
We love it so much! Two day laundry room renovation: CHECK! It feels so much more open in here without the chunky cabinets, and the linear lines of the tile and shelves make the eye stretch the length of the room. Tiling to the ceiling also extends the visual height of the space making it somehow feel taller in here than before! Simple (and inexpensive!) brass light fixture [HERE], brass cabinet pulls to use for hang-to-dry clothes and brass picture frames add warmth to the space and tie in the brass we’ve used throughout the house, too. I love the added shelves next to the machines, and everything just feels so much more “us” in here now. Why did we wait so long?
(Also, what’s your vote after reading the letter board…?  )
)
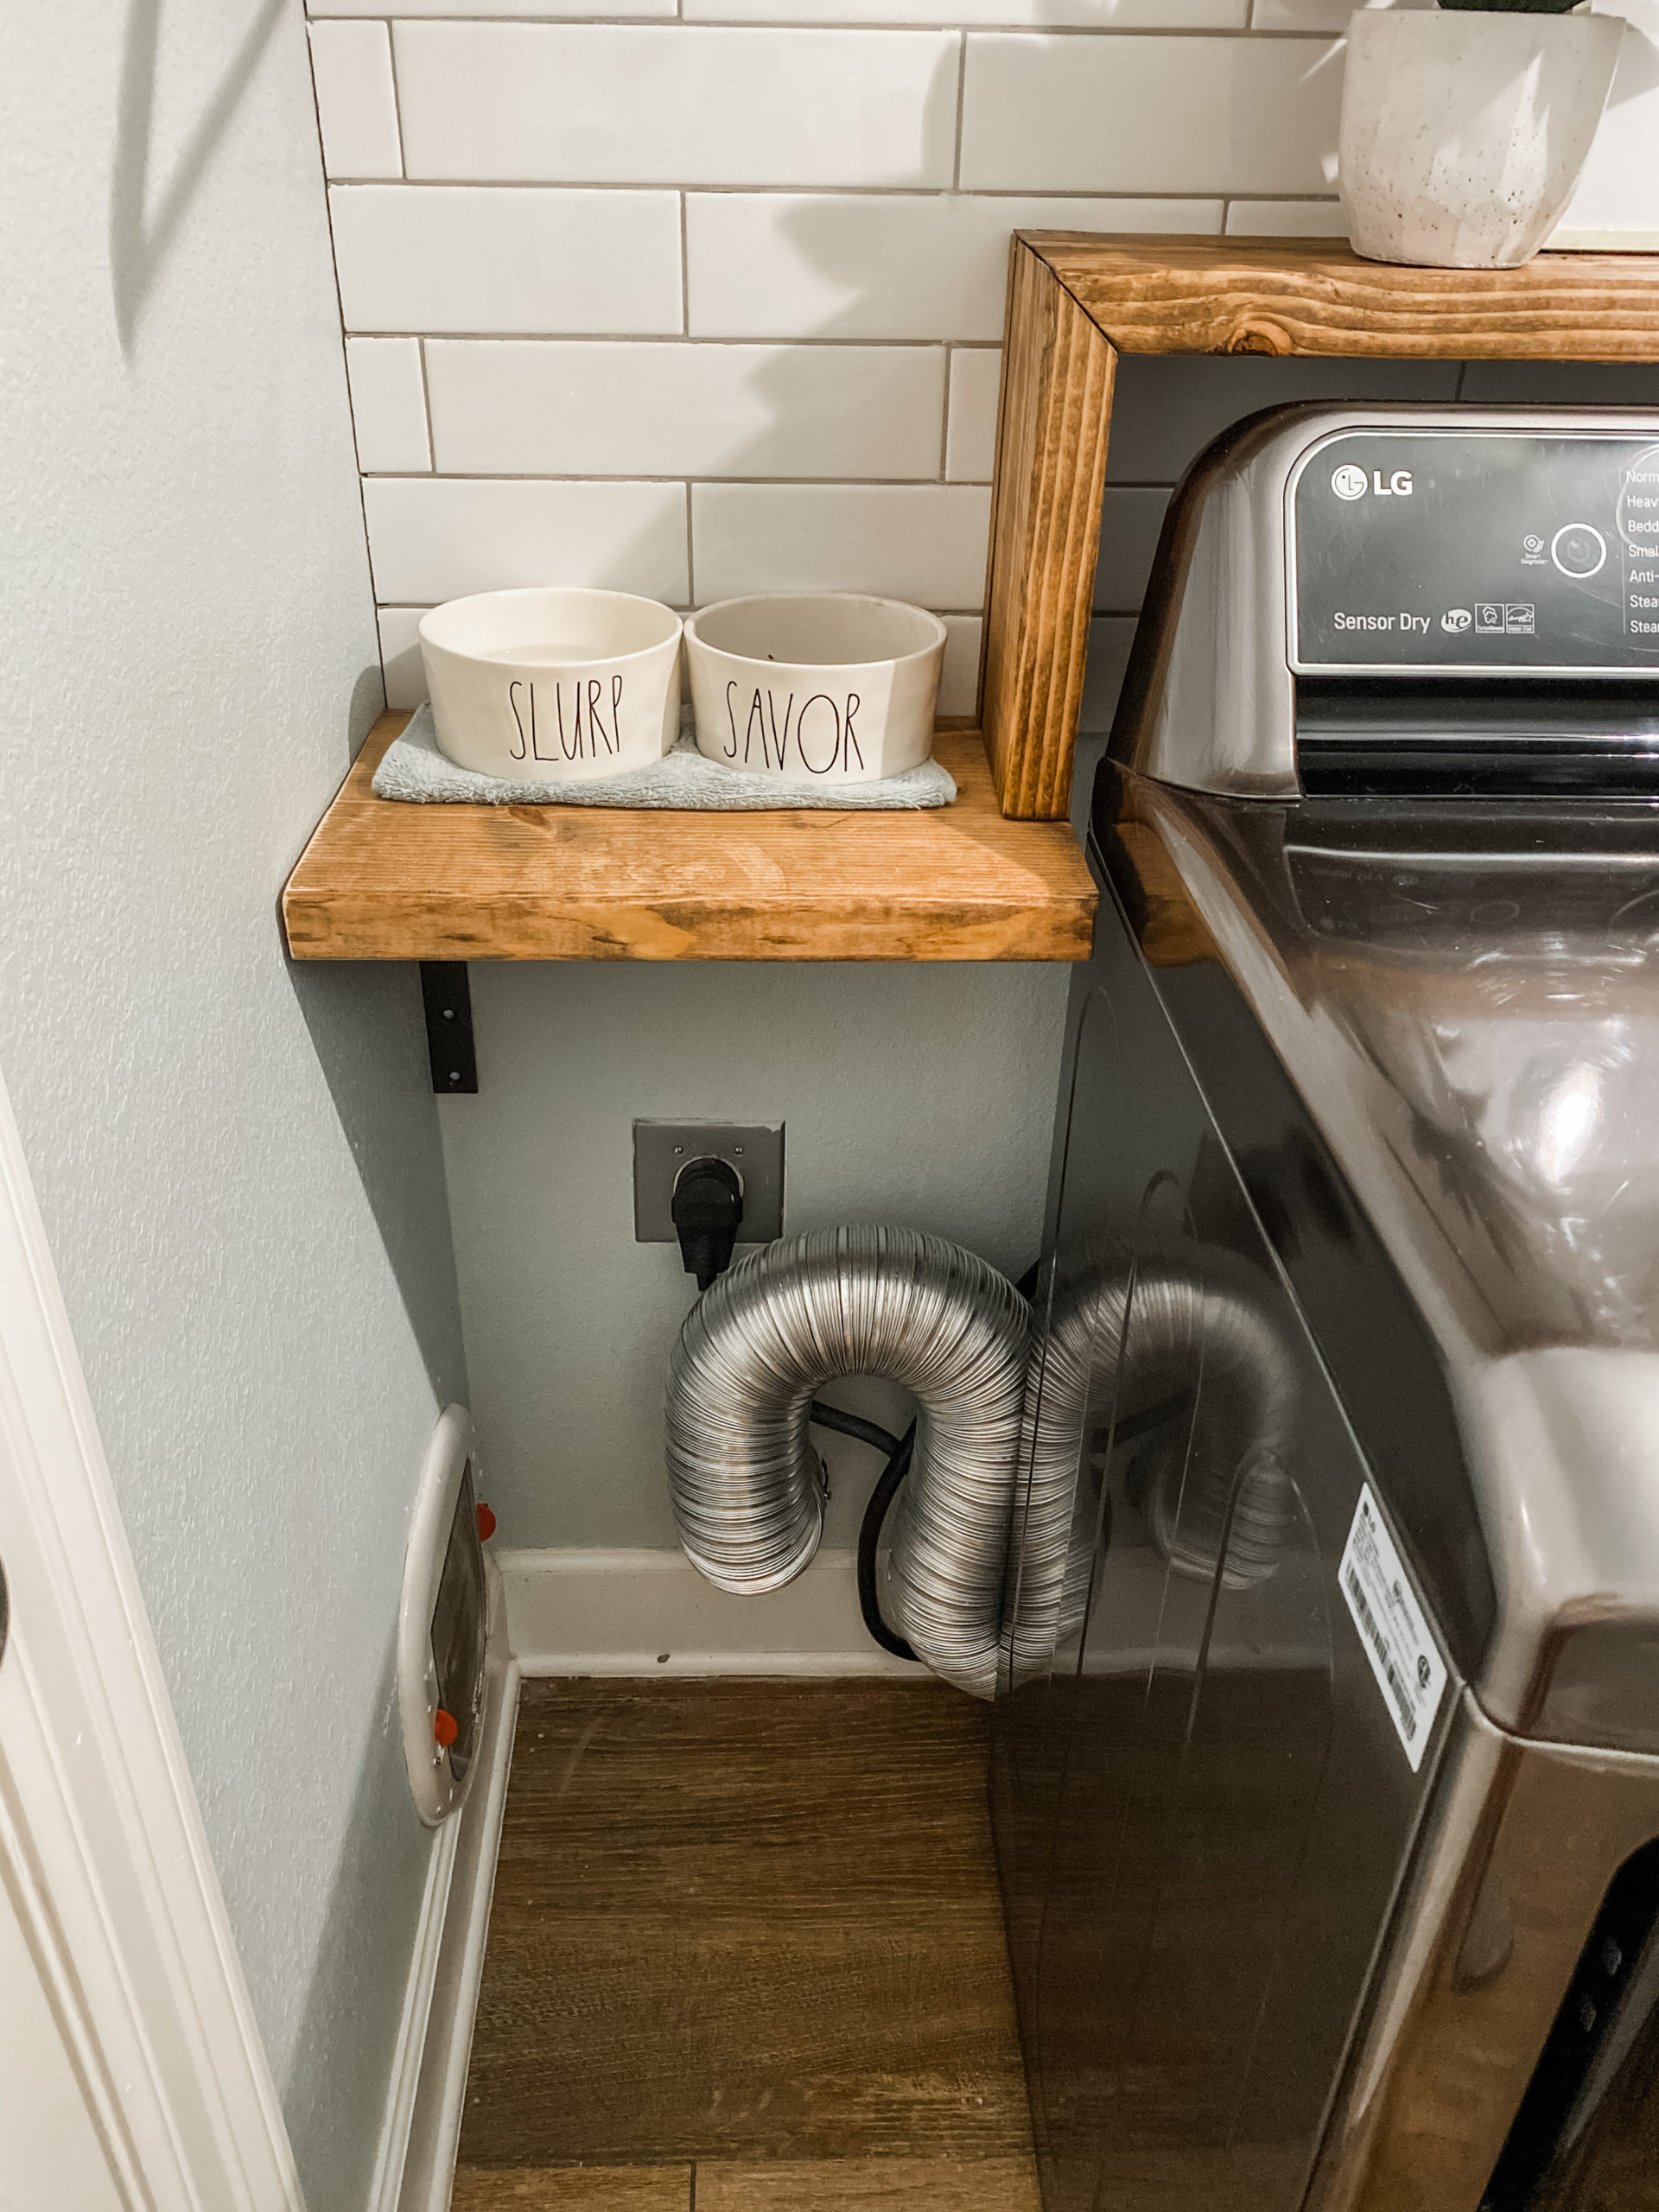
Still to do: I want to extend the depth of this little shelf I think so that the kitties will have more room to stand and eat, and then I’d like to add a second shelf below the current one for a bit more storage. We ran out of steam and are calling it good for a minute, but these will be easy tweaks when we have time! For a two day laundry room renovation, I’d say we checked a lot of boxes, ha!
COST BREAKDOWN:
-PAINT: already had it
-TILE: $90
-SIMPLE MAT: $120
-GROUT: $12
-BRACKETS: $75 (had a few already leftover from other projects)
-WOOD: $40
-STAIN: $8
-FIXTURE: $50
-BASKETS + CANISTERS: $35
-DECOR: used what I already had around the house
TOTAL COST: $430 approximately
What do you guys think? We aren’t professional builders or contractors, so if we can do this two day laundry room renovation, anyone can! I wish we hadn’t put it off for so long, and it taught me a good lesson on not letting social media comparison get in the way of just DOING something for yourself, your home and your family. If I hadn’t let myself get stuck in the comparison game, we might have been enjoying this lovely laundry room refresh much sooner. Glad we finally got moving on this project, and we are so happy with the way it turned out…because we did it for US! 
Would love to hear from you! Do you ever get held back from just taking the first step on something because of the social media comparison game? What projects have you been putting off that might be fun to tackle? Thanks for stopping by today, friends! ERIN
ERIN
SOURCES:
*click images below to shop affiliate links

The post 2 Day Laundry Room Renovation appeared first on Cotton Stem.