Master Bedroom Closet Makeover
I’m not sure what has gotten into me, but the last few months I’ve had the biggest urge to organize just about everything in our home. I consider myself a pretty tidy and organized person for the most part, but I think we all have those neglected spaces in our homes that could use a little bit of attention. The closet in my master bedroom is the perfect example: it’s not a total disaster, but I’ve never really put a ton of effort into maximizing its potential either.
I’ve spent the last few months brainstorming ways to best use the closet space I have and make it feel a little more custom and “me” without spending a lot of money. I found a few things that have made SUCH a difference in the way my closet looks and functions, and I can’t wait to share it all with you today. Check out my newly organized closet!
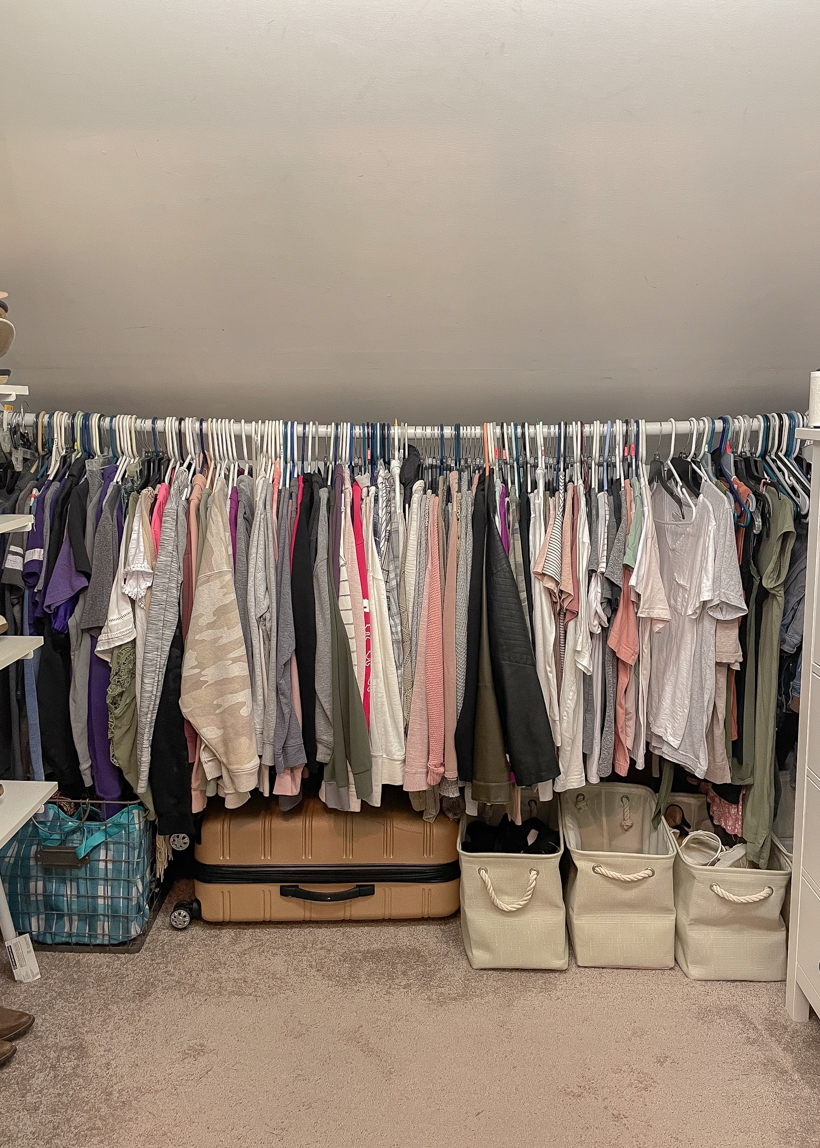
I don’t have a true “before” photo because I had already made a few small attempts at making my closet more user-friendly before deciding to really give it a good overhaul. But here is a starting point for reference.
My bedroom is a converted attic space, which is why the ceiling is sloped and the closet is an odd shape/size. Nothing overly exciting… mismatched hangers, random storage bins, and a closet rod ready to pull out of the wall and drop all my clothes on the floor.
… spoiler alert: that last part did end up happening, which is probably why I decided it was time to finally whip this closet into shape.
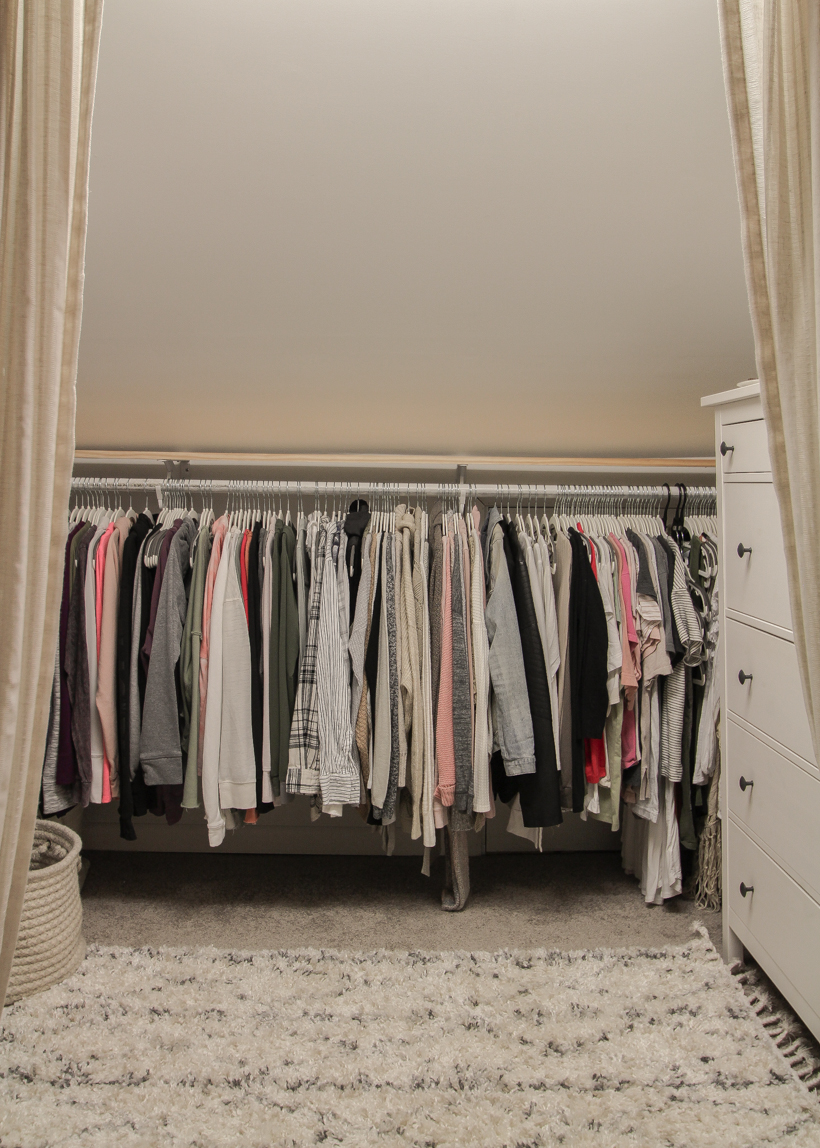
The first thing I did was fix the clothing rod situation. I installed several brackets across the length of the closet that would hold both the rod and a shelf on top. Because the wall is sloped, there really isn’t room to store much on the shelf, but I wanted to add it for aesthetic reasons anyway.
It was quite the ordeal trying to find studs in this old house to drill into for the clothing rod supports, but I finally got it to work. I also decided to invest in all matching good quality hangers, and this little switch made SUCH a difference instantly. They are slim and space-saving with rubber grips to hold shirts perfectly in place.
I initially thought I wanted the typical velvet hangers you see in beautifully organized closets, but found after doing some research that they tend to shed on your clothes and hold on to dust. These plastic ones that I ended up going with were a little more affordable and have the same slim profile non-slip design. I also bought matching pants hangers, as well as these space saver hangers that hold 5 hangers on each. I use them for a lot of my basic tanks and tees to keep them condensed without taking up drawer space.
I decided that because you see a lot of the sloped wall when you look into the closet, I wanted to add some kind of accent wall for interest. Instead of just using paint, I ordered my first ever roll of removable peel and stick wallpaper. What’s the worst that could happen? It doesn’t look good, and I peel it right off? I decided the risk would hopefully be worth the reward of adding a custom touch to my master bedroom closet with a beautiful grass cloth print.
The installation process really is pretty simple and straightforward. First, wipe the wall down to remove any dust and allow it to dry completely. You want a clean surface for the wallpaper to adhere to.
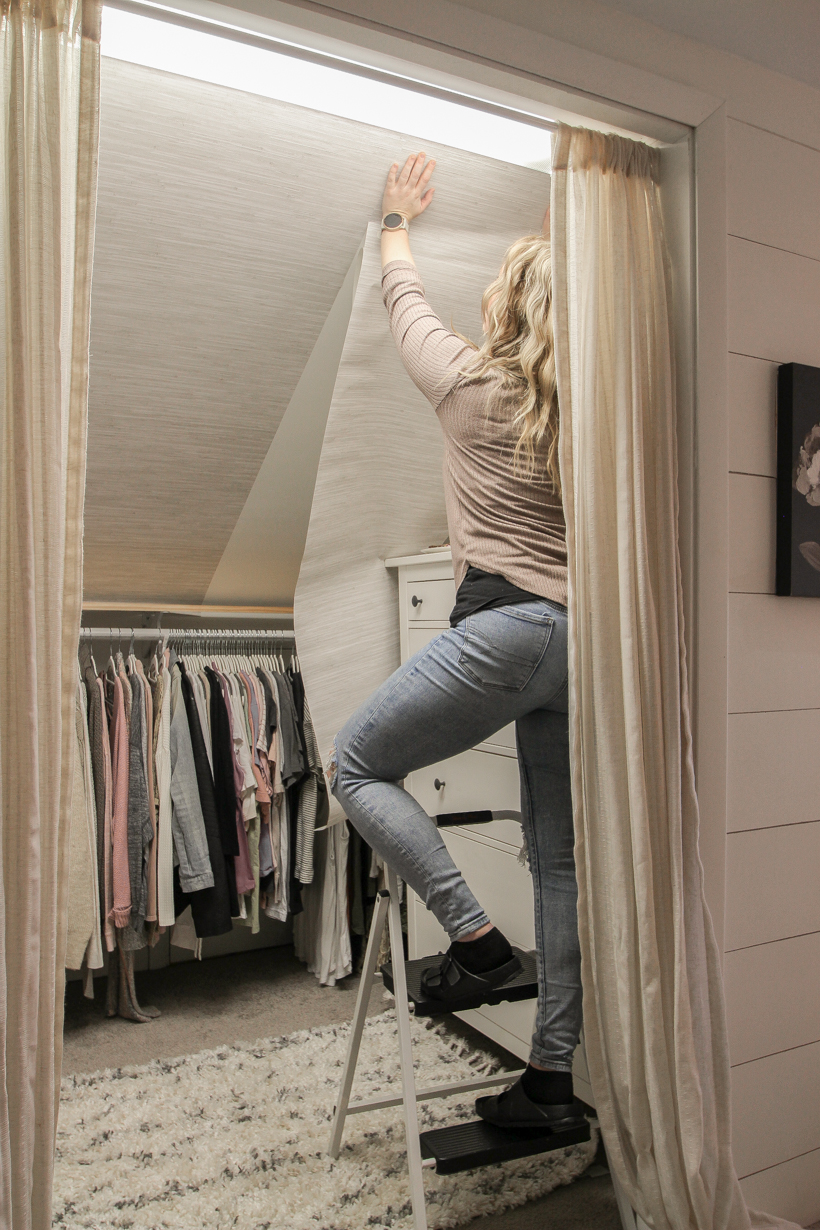
Peel about 12” of the backing away from the wallpaper and apply it to the top left corner of the wall, leaving an inch or so extra around the edges so you can make a clean, straight edge later. In other words, you’ll overlap the wallpaper onto the ceiling and adjacent wall to the left about an inch. I recommend using a level to make a pencil line on the wall to make sure your first piece goes up perfectly level.
Continue removing the backing and pressing the wallpaper onto the wall, smoothing out any air bubbles as you go. This particular brand of wallpaper recommendeds overlapping each section just slightly so there are no gaps.
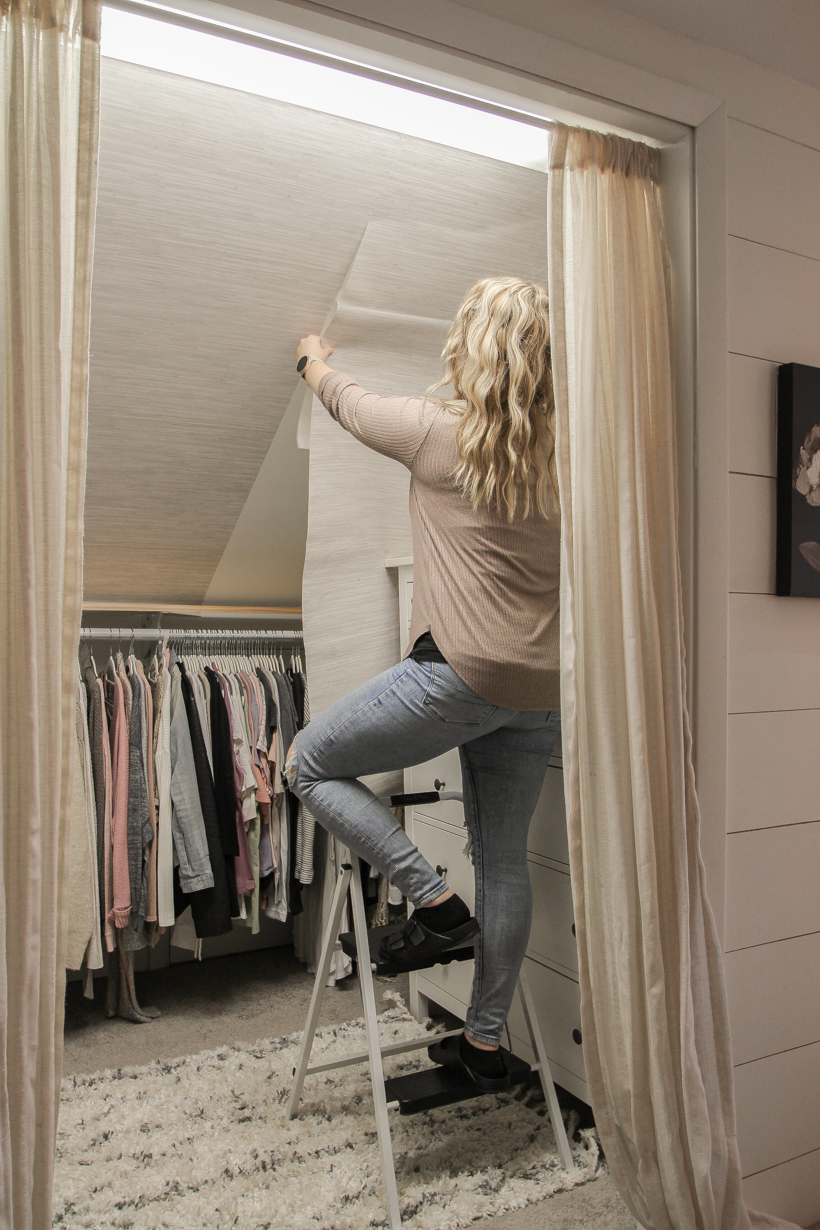
This grass cloth design obviously doesn’t have a major pattern that needs to be perfectly lined up, which made it both easier and slightly more difficult to install. While it was nice not having to be perfectly precise matching up a pattern with each new section, I can see the seam in a few places. It’s not horrible, but if this was in one of the main living areas instead of just my closet, I probably would have paid more attention to seeing if I could get the horizontal grass cloth lines to match up more seamlessly. Just something to be aware of if you choose a pattern like this!
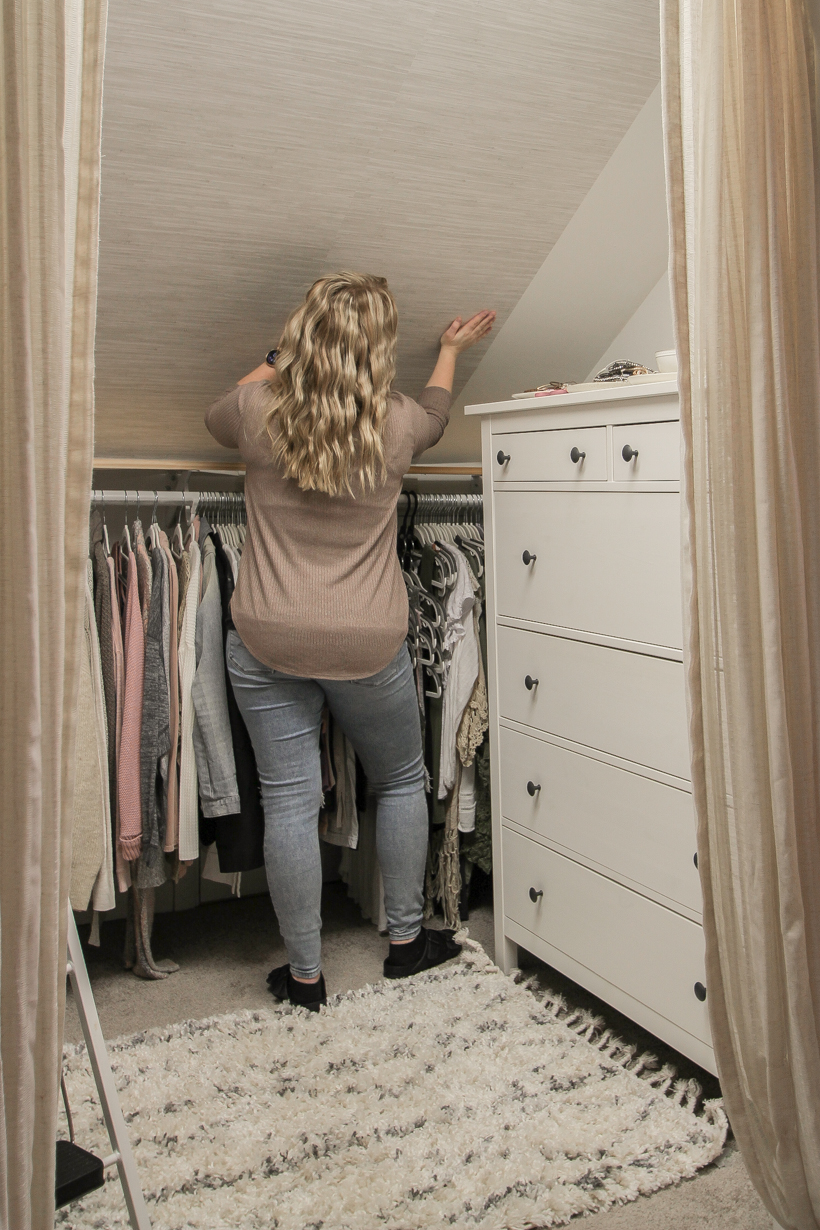
Once you have the entire wall covered, use sharp knife to trim the excess wallpaper around the edges. I found it easiest to run my knife against a ruler or some kind of straight edge rather than cutting freehand.
You can see the overlap on the left wall before I trimmed it in the photo below.
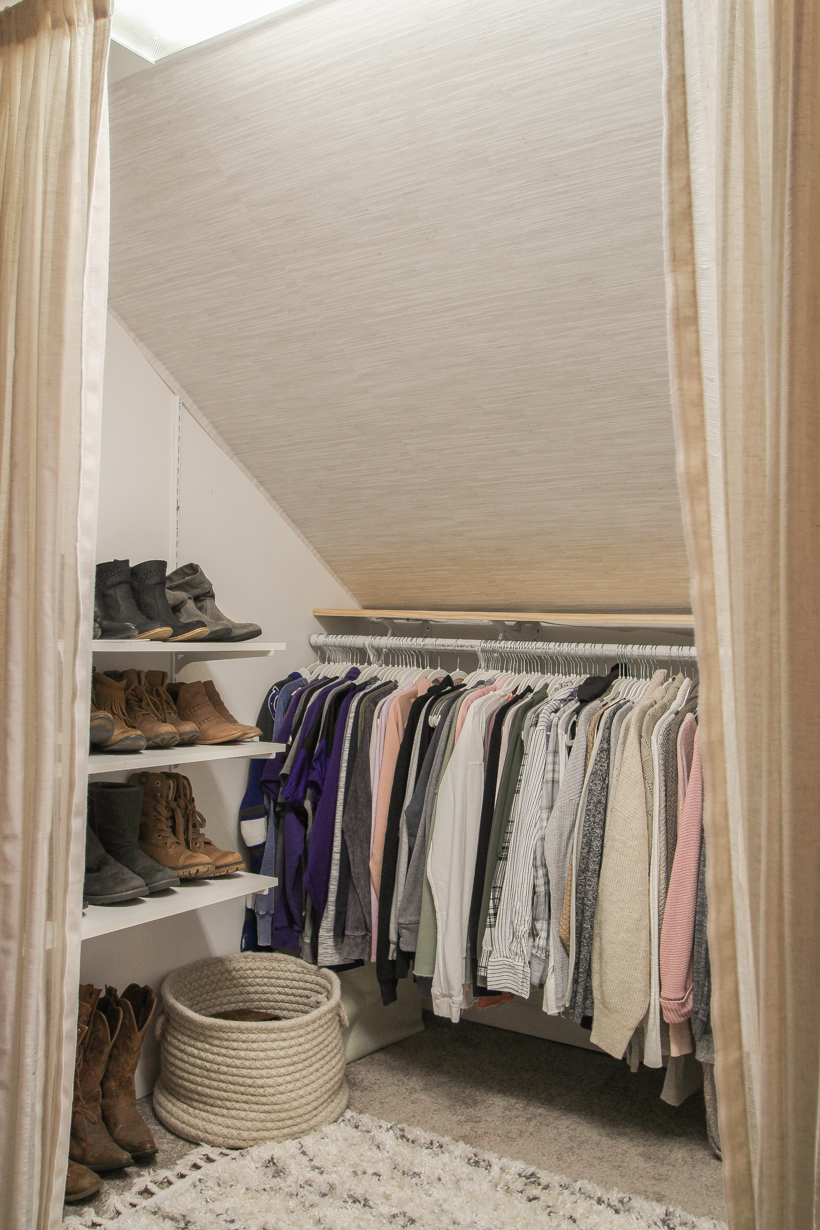
And here is the finished product!
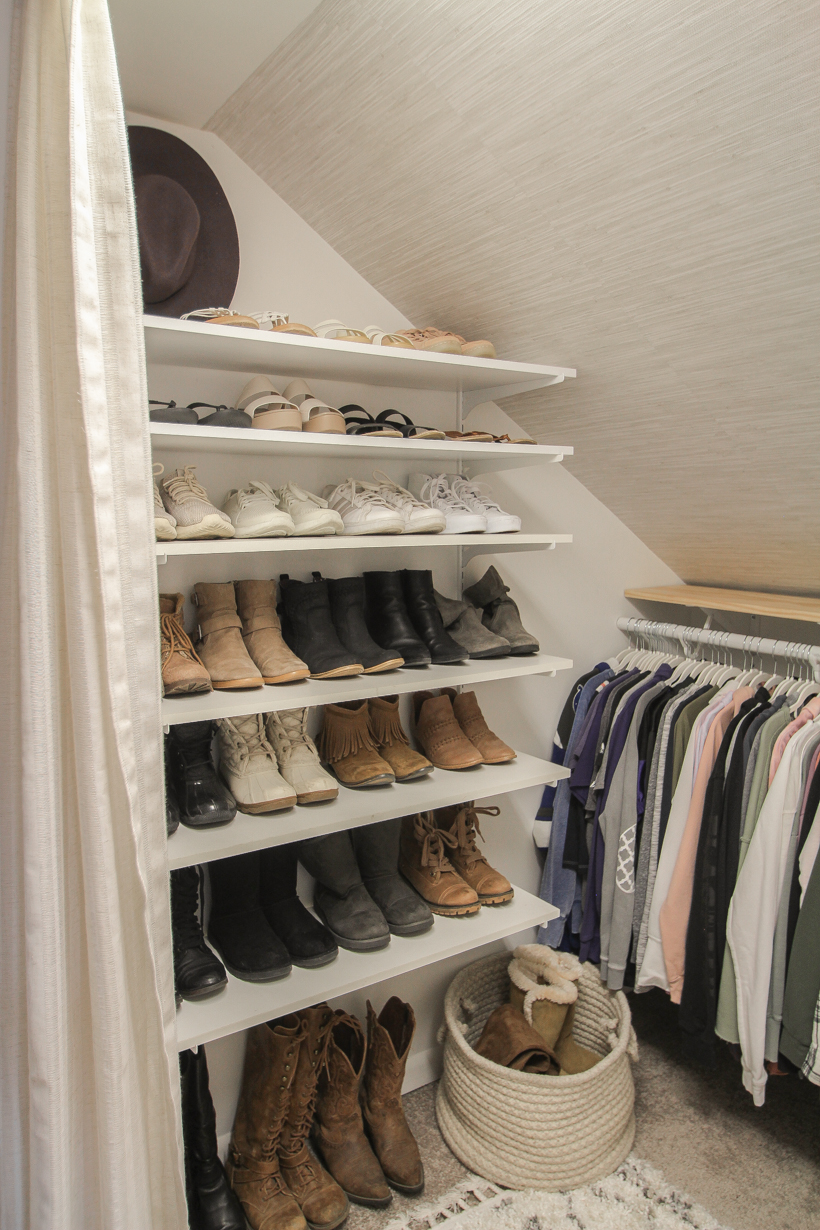
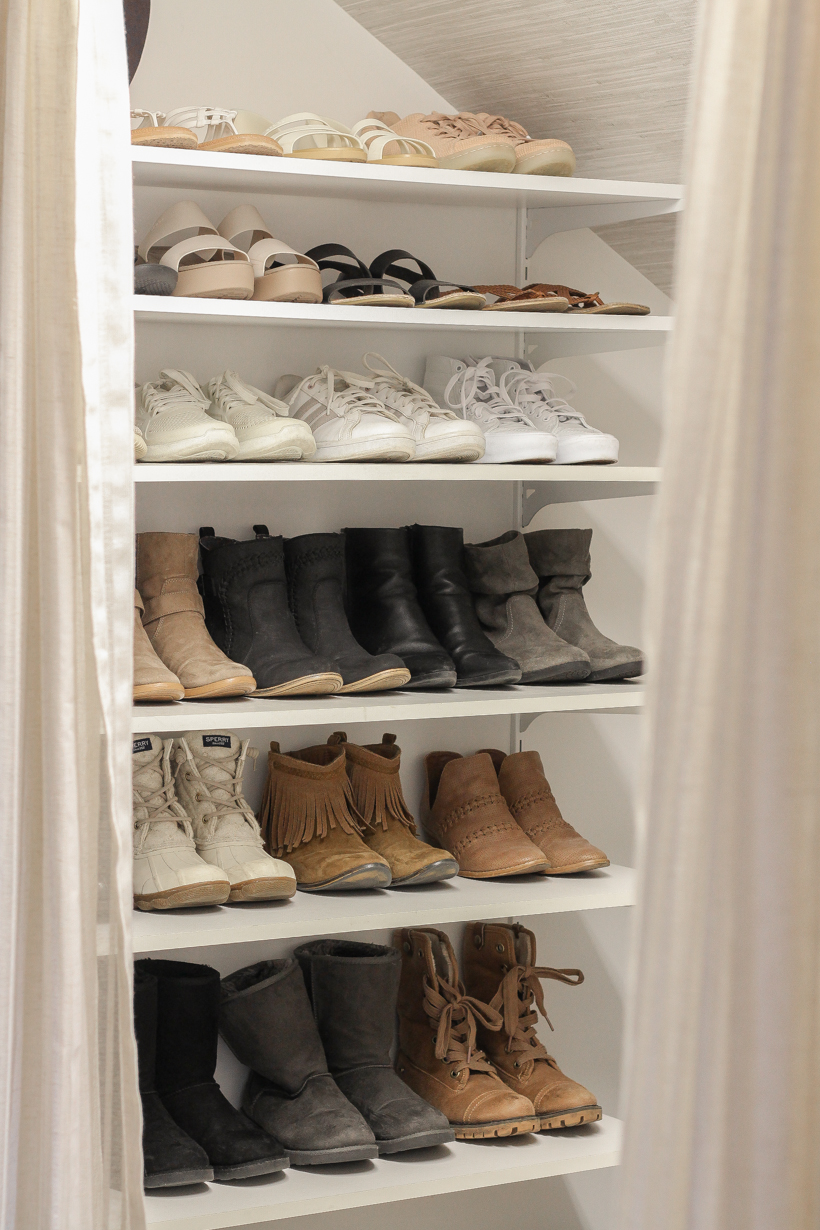
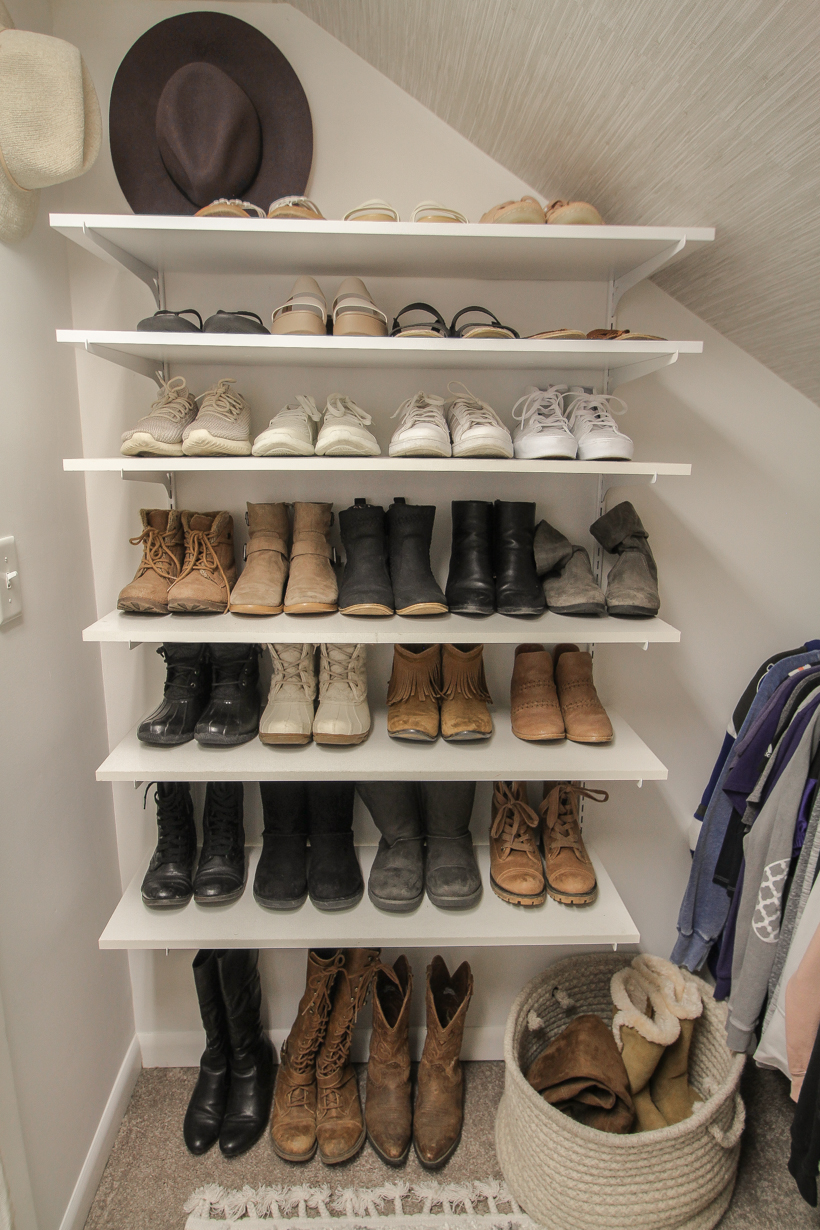
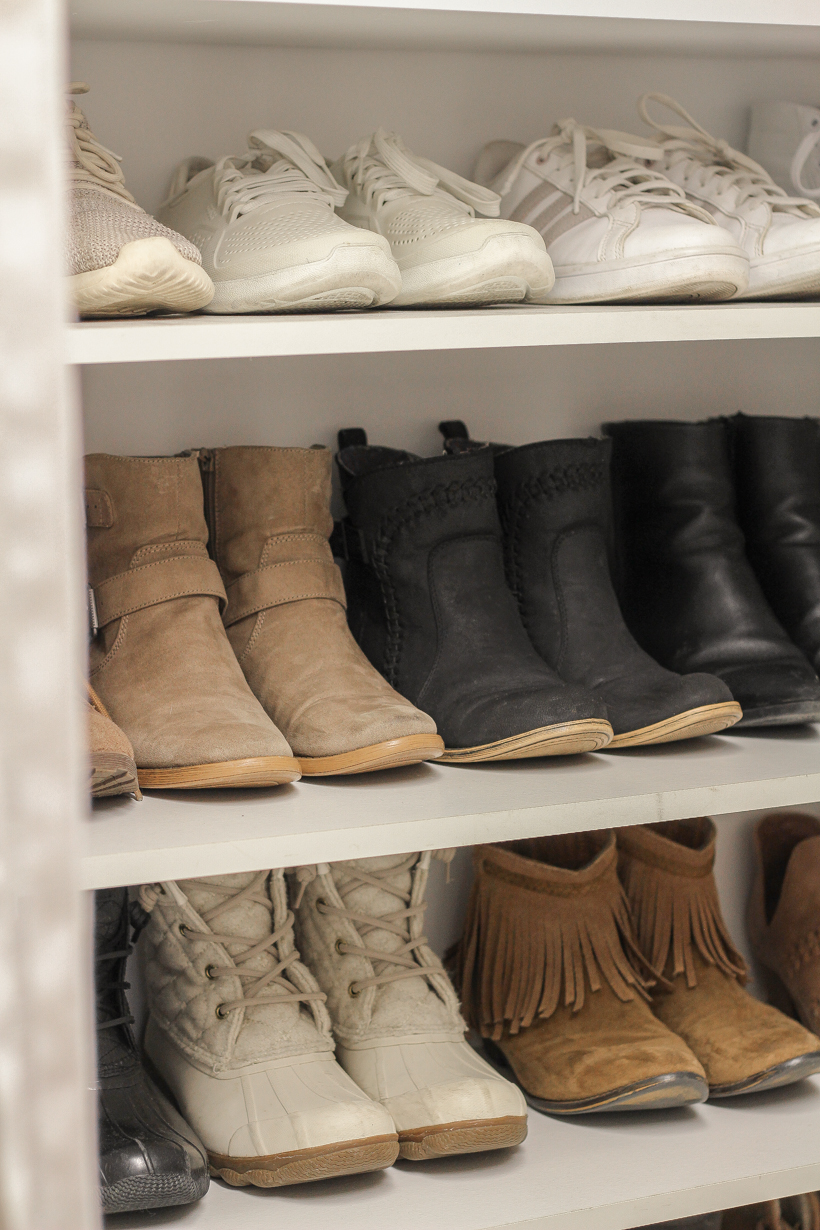
There used to be a dresser on both sides of the closet, but I decided to make the most of the vertical space I have in here and install shelving floor to ceiling on one wall for my shoes. I have them organized by sandals and sneakers at the top and boots/booties towards the bottom. I literally feel like I’m walking into a shoe store made just for me every time I go to pick a pair for my outfit that day. Sometimes unique spaces can be a pain to design around, but every once in awhile they provide the perfect opportunity to get creative and come up with something fabulous.
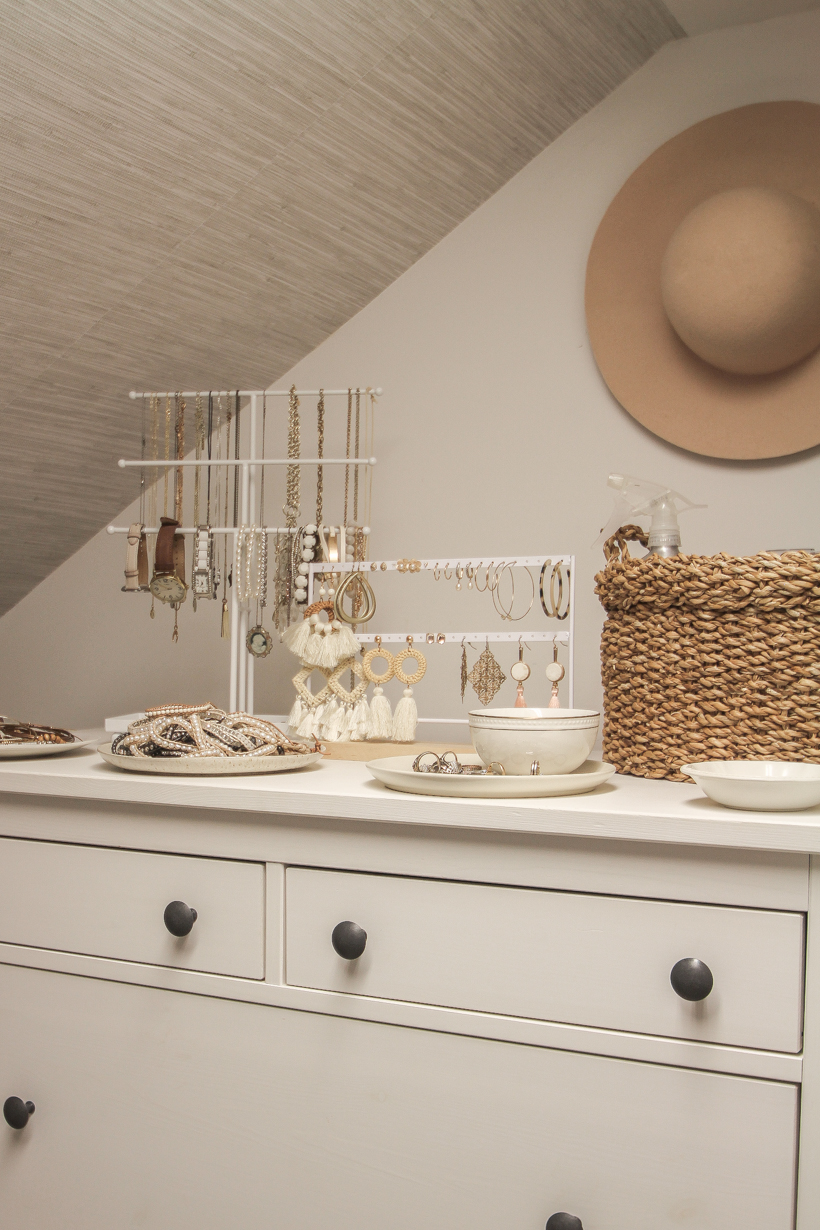
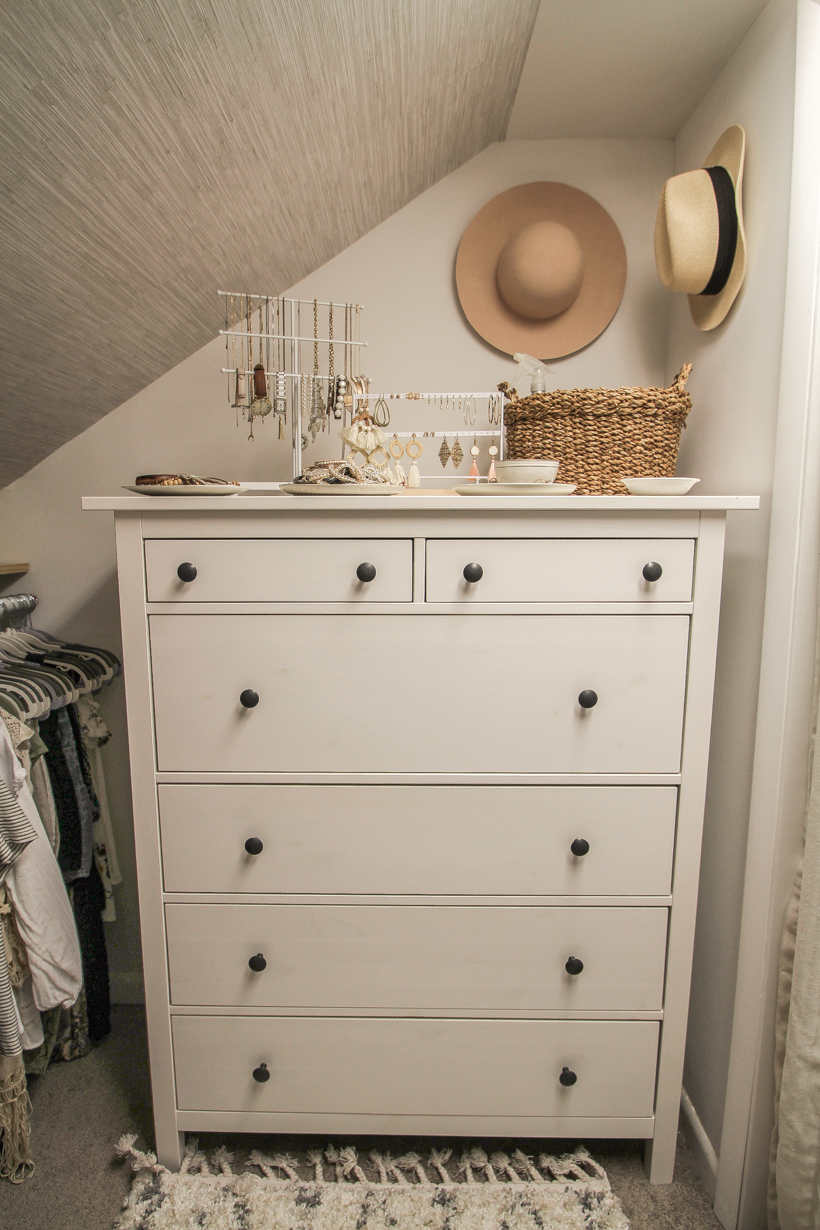
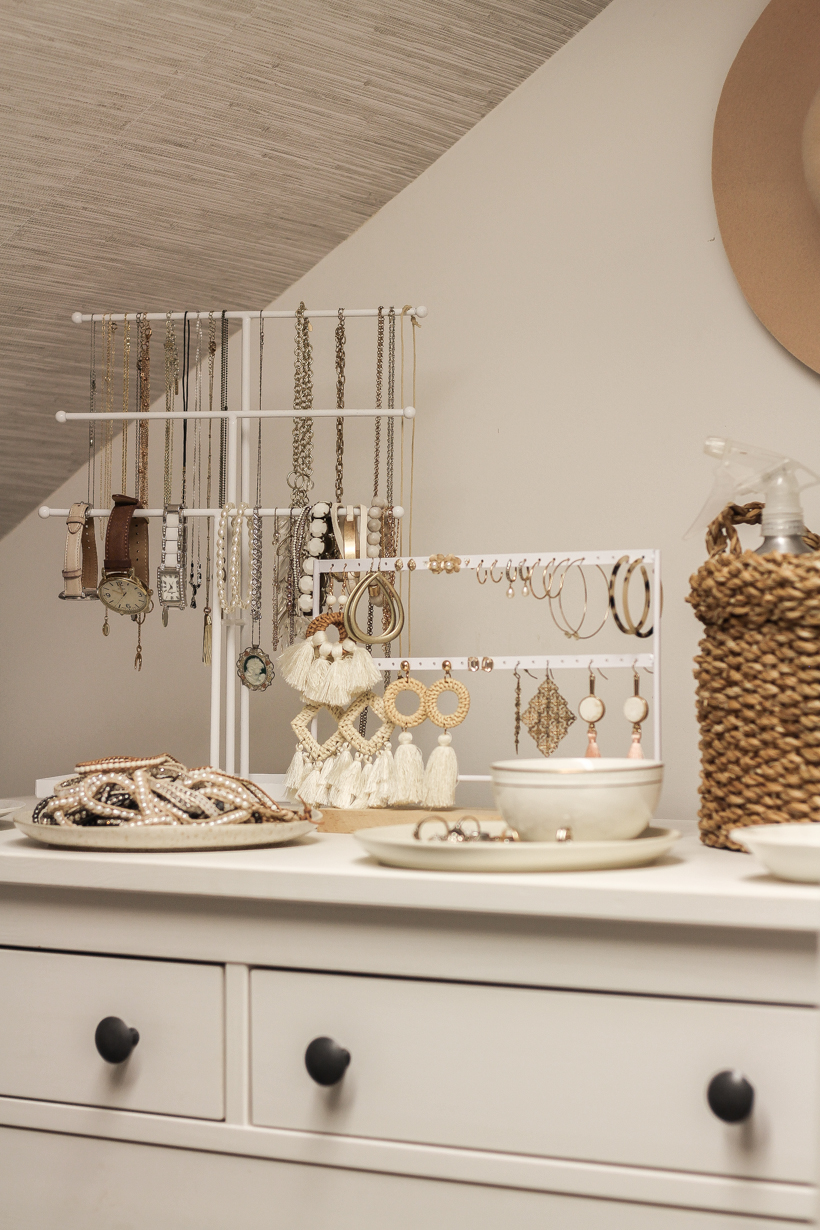
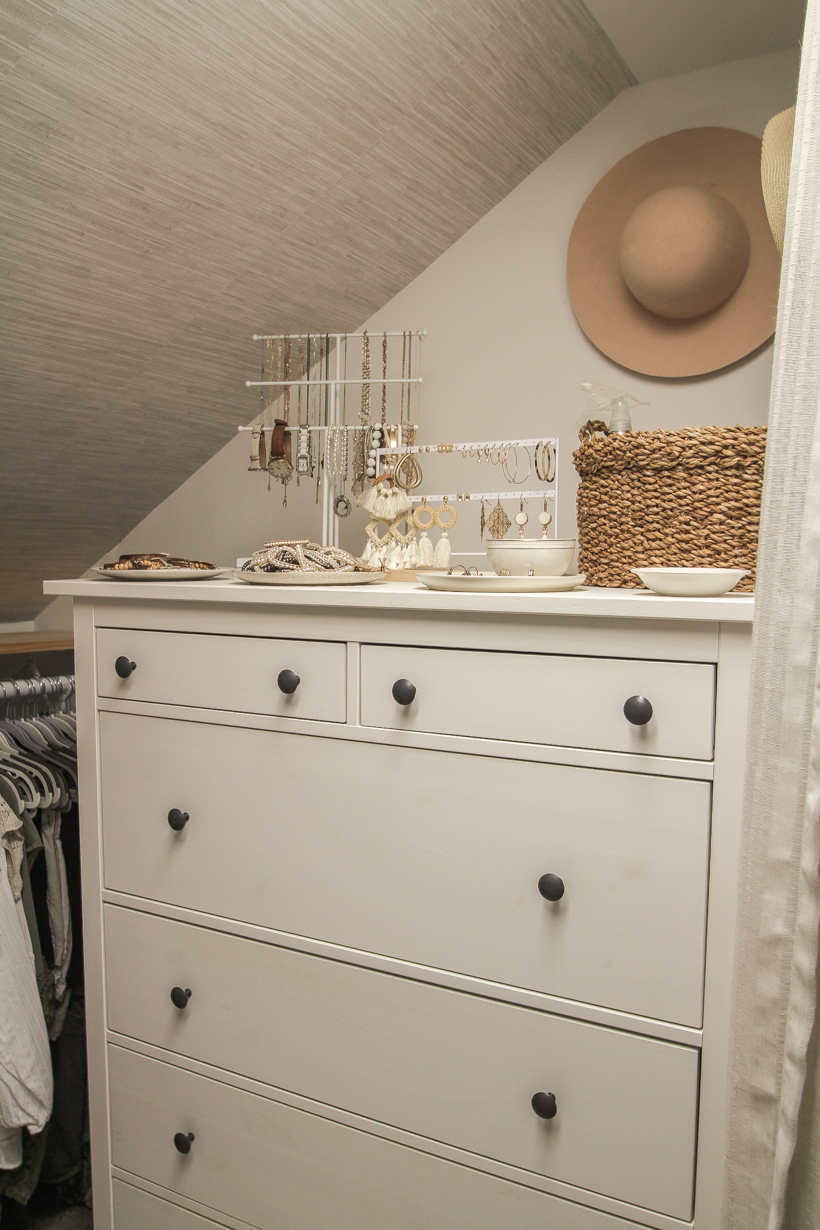
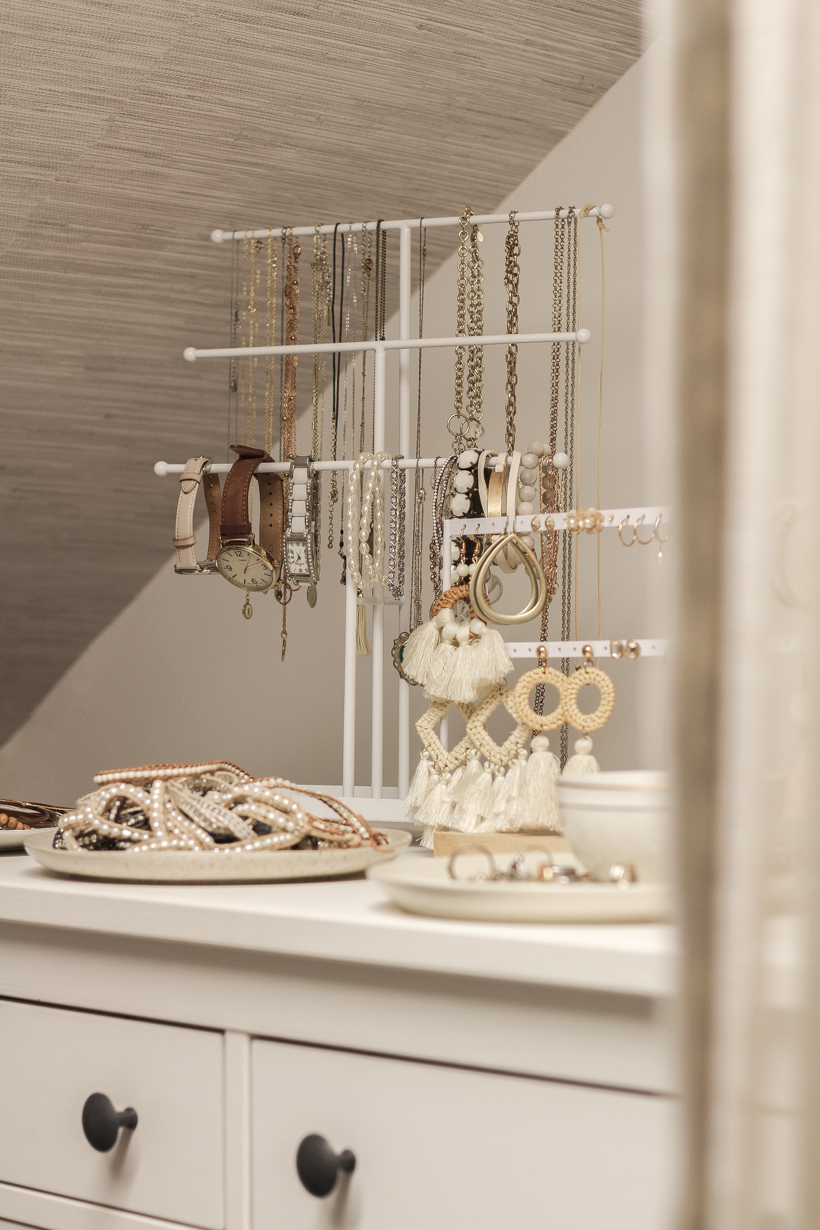
On the opposite wall, I have a tall IKEA dresser with my jewelry displayed on top. One of my goals for this closet was having all my jewelry not only organized, but displayed and visible so I would be more likely to wear it. I’m a visual person, so when I had all my jewelry tucked away in a jewelry box, I rarely took the time to dig it out.
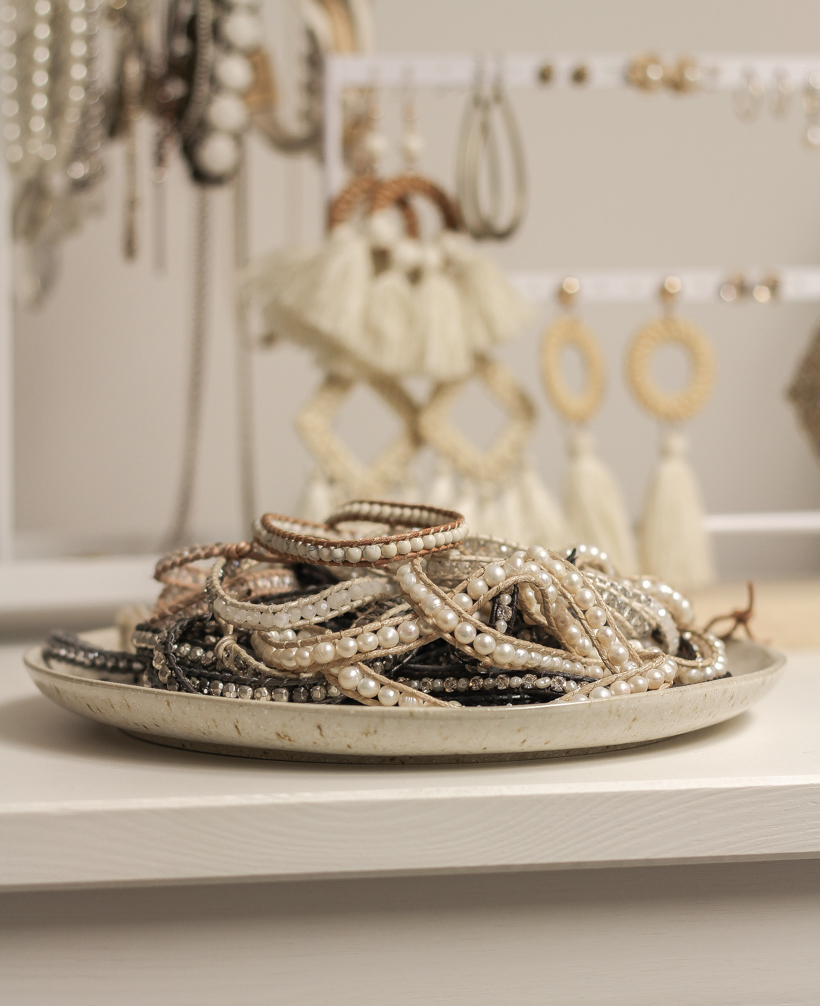
I ordered this stand for my necklaces, and this organizer for my earrings. For my rings and bracelets, I grabbed a couple small plates and bowls to organize them. A few of the plates are from Crate & Barrel, but the majority came from thrifting. They don’t have to all match!
I have a woven basket to hold my body sprays and clothes steamer. And I hung Command hooks up by the ceiling on both sides to store and display some of my favorite hats. Oh, and I added a fluffy shag rug to make the closet extra fun!
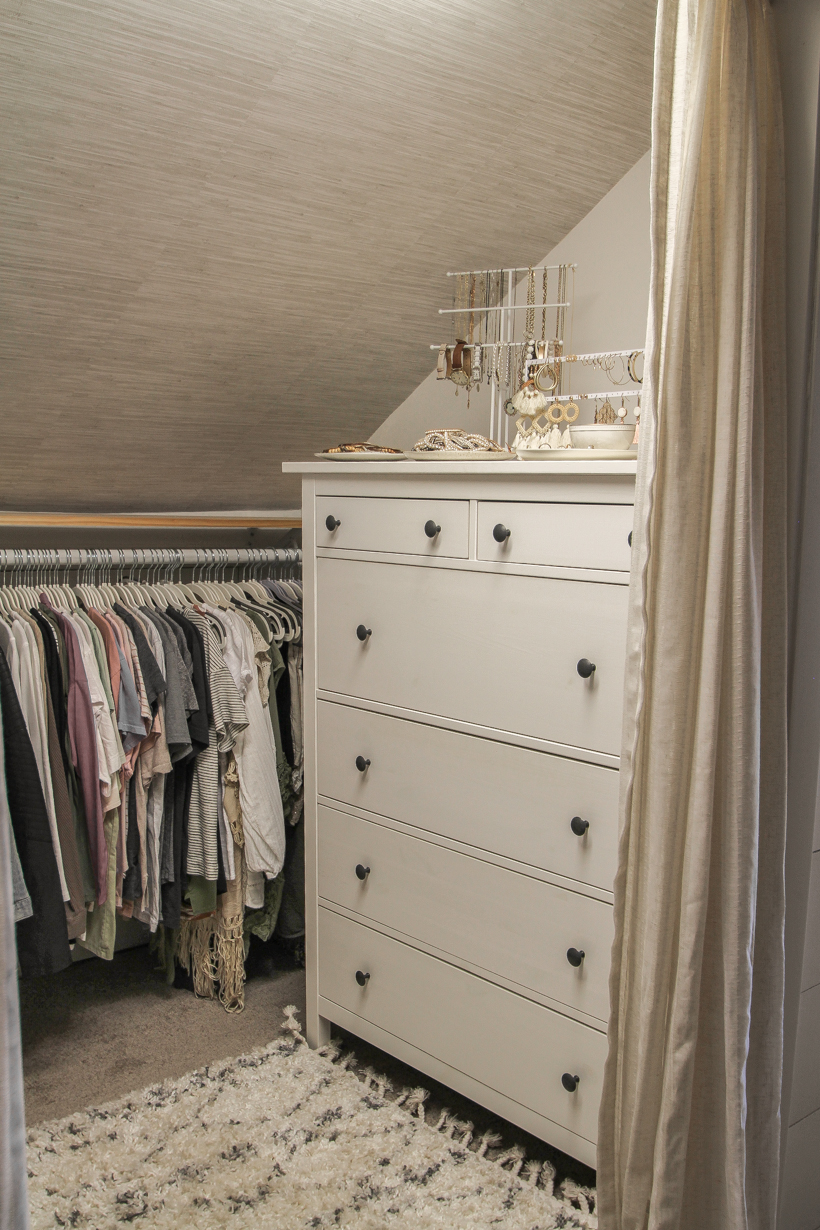
This space feels so girly and beautiful, and I love having this little corner all to myself. Everything has a place and is organized, and it makes getting ready so much easier and more fun. I hope this project gives you some ideas for organizing your own closet and the little touches you can do to make it feel extra special. Let me know in the comments if you have any questions!
Thank you so much for stopping by today to check out my newly organized closet. I have been on quite a roll organizing the house lately, so stay tuned for more ideas coming soon!
– ROOM SOURCES –
grass cloth wallpaper | white dresser | rug
necklace stand | earring organizer
slim plastic hangers | pants hangers | space saving hangers
curtains | wool basket
– SHOP THE POST –
As always, I sincerely appreciate you shopping through the links I share, which allows me to make a small commission from your purchase while your purchase price stays the same. When you use my affiliate links, I’m better able to create content for this blog as well as support my family, and I thank you from the bottom of my heart for supporting what I do!
The post Master Bedroom Closet Makeover appeared first on Love Grows Wild.
